
Everything on model trains, model railroads, model railways, locomotives, model train layouts, scenery, wiring, DCC and more. Enjoy the world's best hobby... model railroading!
Here are a couple of useful tips from members of my Online Model Train Club. I’m sure you’ll find them helpful:
Club Member Penn gave this tip for Humps On Layout Joins
Sometimes the diluted glue/detergent mix used to ballast the trackwork can seep into the MDF (chipboard) joins where trackwork crosses over those joins. If the glue mix soaks in it can cause the join to swell at that point. This can create a pronounced hump and cause the track to lift. I’m sure you can imagine the problems that could cause and the problem could be tricky to fix.
So, it is better to avoid it happening in the first place. The trick is to seal the edges of the MDF board with undiluted PVA at the point where a track could cross. Before putting the track down I would paint all the track bed area with undiluted PVA. I would also use undiluted PVA to paint any areas that will be ballasted. To be on the safe side Iould extending the painting an inch or two beyound the area to be ballasted. I would thoroughly seal the MDF joins, screw holes, and any area where the diluted glue mix might penetrate. To be on the safe side I would give it another coat when dry. I would also seal any extra holes I might drill (such as point motor and wiring holes) before ballasting. I’ve had an expansion hump in a join under my track and I know how annoying it can be, so I’m now super careful.
Another member of my Online Train Club (Pete575) gave this tip for Easier Drilling
Drilling small holes into harder materials, can sometimes have its problems when the drillbit wanders as it attempts to gain bite. An example would be holes for grab irons. One solution is to imprint a small dimple in the hole location before drilling begins. You simply use a small awl., or a hard sharp pin and firmly press it in the base material to make a small pit. After doing that you place the tip of your drill bit in the pit and drill the way you normally would. Doing it this way can be much less frustrating.
You’ll get lots more tips, tutorials, and clever ideas each and every month inside my Online Model Train Club including ideas on:
Join today!


Watch Video
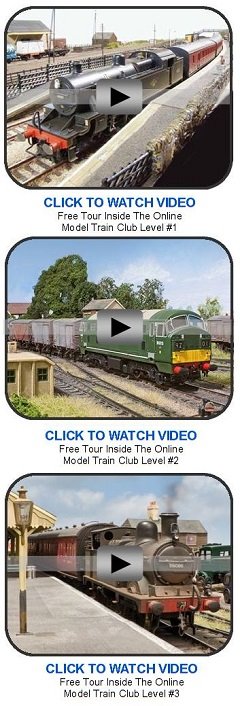 Take a FREE tour inside the club.


Model of Lehigh Valley #638 and #639. The black and white diesel locomotives …