Everything on model trains, model railroads, model railways, locomotives, model train layouts, scenery, wiring, DCC and more. Enjoy the world's best hobby... model railroading!
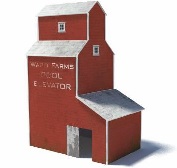
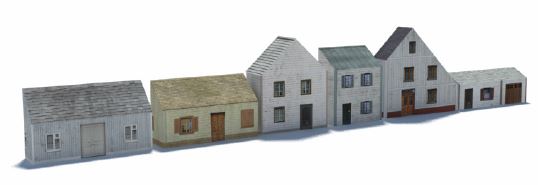
Most model railroads try to reflect real life whether it is a present day scene or a moment in time from the 1970’s, 1960’s, 1950’s or even earlier. Regardless of what era is being modeled, the people of the time needed places to live and shop. That’s why a street scene with people and vehicles rarely looks out of place on a model railroad layout. Trouble is; street scenes can take up a lot of space unless they are positioned against a backdrop, or at the edge of the layout. Putting them against a backdrop is often a great option as it allows more space for other scenery or track and gives the impression the scenery stretches further than is does. Below is a new series of 7 low relief houses that are perfect for placement against a backdrop.
 http://www.modelbuildings.org/low-relief-buildings-D.html
Another new series is this set of 6 shops with upstairs accommodation. These shops come with 12 different shop signs so you can change the signage to suit your railroad.
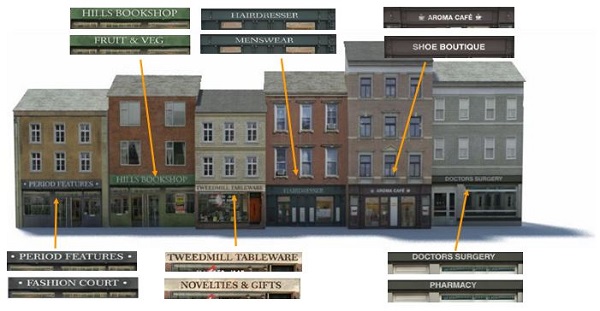 http://www.modelbuildings.org/low-relief-buildings-E.html
These buildings are easy to download and construct using foam core sheets or core flute (both are cheap to buy in big sheets at a DIY store). The downloadable plans come with easy to follow instructions. The website includes a special ZOOM tool so you can see the fine detailing closeup.
Club member Russell sent in this tip to share:
 Light the indicators in the track can be a handy way of knowing which way a turnout gets thrown. You can buy tiny LEDs that are small enough to be unobtrusive, but can still be easily seen. If you think this looks unprototypical (with LEDs in the track), you could install them on your bench work fascia, next to the turnout, or perhaps in a building, or even have them as lights on a pole that respond when the turnout gets thrown.
The LEDs can be positioned between the track rails after both rails and the frog are gapped beyond that point. Small tubes can be used to carry the wiring from the LED up through the foam sub-roadbed. A small blob of Walthers Goo will keep them in position to avoid interference with couplers or other parts on the trains passing above them.
You could use this with electrically powered turnouts, which would save installing relays, or needing a second set of contacts. Some operators find manually controlled double slip switches confusing, so this could be helpful with that too.
For DCC help and advice http://www.dccmodeltrains.org
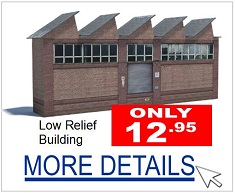
This quick video demonstrates how easy it is to construct an industrial warehouse building in low relief.
There is no need to paint or weather the building as that is already done for you, so that’s a saving in time and money.
The plan can be downloaded at http://www.modelbuildings.org/Low-Relief-Buildings-B.html where you can see a close image of the fine detailing.
The building can also be purchased as part of a BIG BUNDLE deal at http://www.modelbuildings.org/big-bundle-deal-2.html (SAVING 66% off the regular price).
If you have a photo of this, or one of the other model buildings in the series, positioned on your layout then we would love to publish it to show others. Send details and your email address using this link http://www.model-railroad-resources.com/train-tips.html
 Club member Alex sent in these tips to share:
Model trains are weathered to give them a realistic look. Follow the tips below to get the best results.
For more scenery and weathering tips http://www.modelrailwayscenery.org/model-railroad-scenery.html
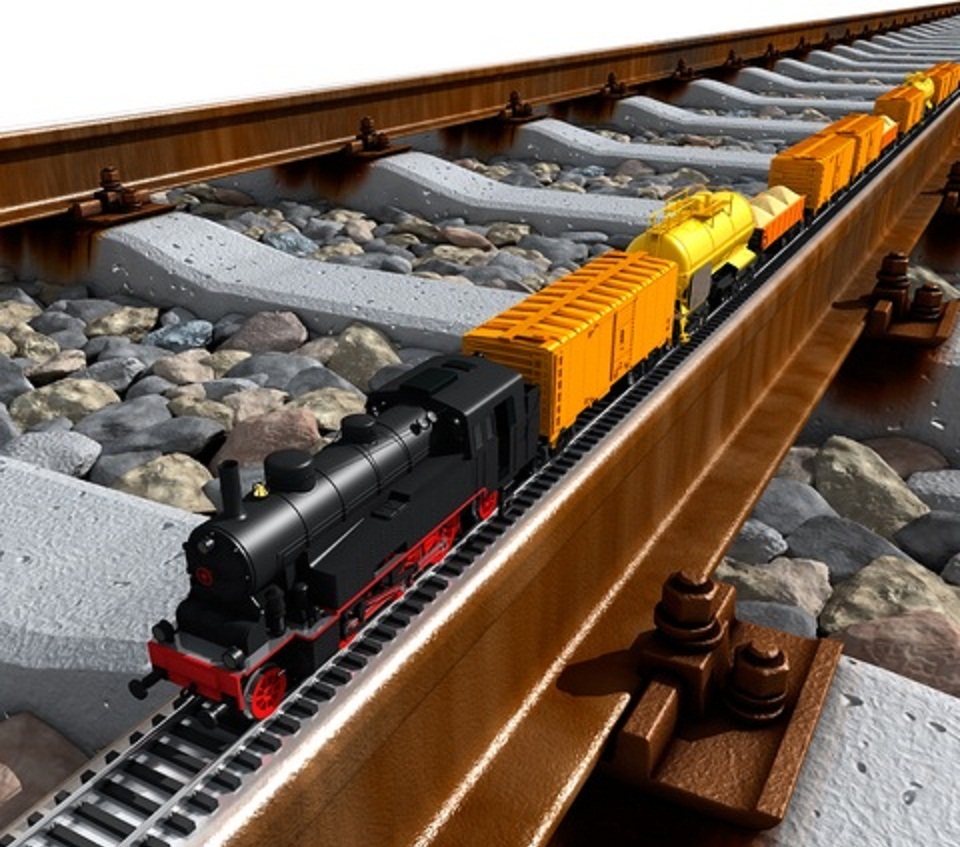 Freight trains are used for the transportation of raw materials and goods. Through freights travel through many yards but stop and unload at their final destination. It acts as an ‘Express’ service. The crew however, can be changed at any point along the route. Coal, vehicle parts and steel are transported in this way.
Through freights are based on simple switching. The yard master decides the on-scheduled trains on a switch list. Carriages are made to wait in their own designated task yards. The crew yard has to assemble all cars in the departure track according to the schedule given by the station master.
346 people voted in our recent poll which asked: Did you make any new years resolutions, or set goals for the coming year relating to model railroading?
The results were as follows:
–> YES – I decided to finish a project I started (16%, 56 Votes)
–> YES – I decided to start a new project (9%, 32 Votes)
–> YES – I decided to fix a problem that has been annoying me (7%, 24 Votes)
–> YES – I decided to increase my general knowledge of the hobby (6%, 22 Votes)
–> YES – I decided to expand my layout (6%, 21 Votes)
–> Yes – I decided to increase my understanding of DCC (6%, 20 Votes)
–> YES – I decided to buy new trains, structures, or accessories (5%, 18 Votes)
–> YES – I decided to clean my layout (4%, 13 Votes)
–> No – I made no specific resolutions relating to the hobby (32%, 109 Votes)
–> Unfortunately I don’t have a layout yet (9%, 31 Votes)
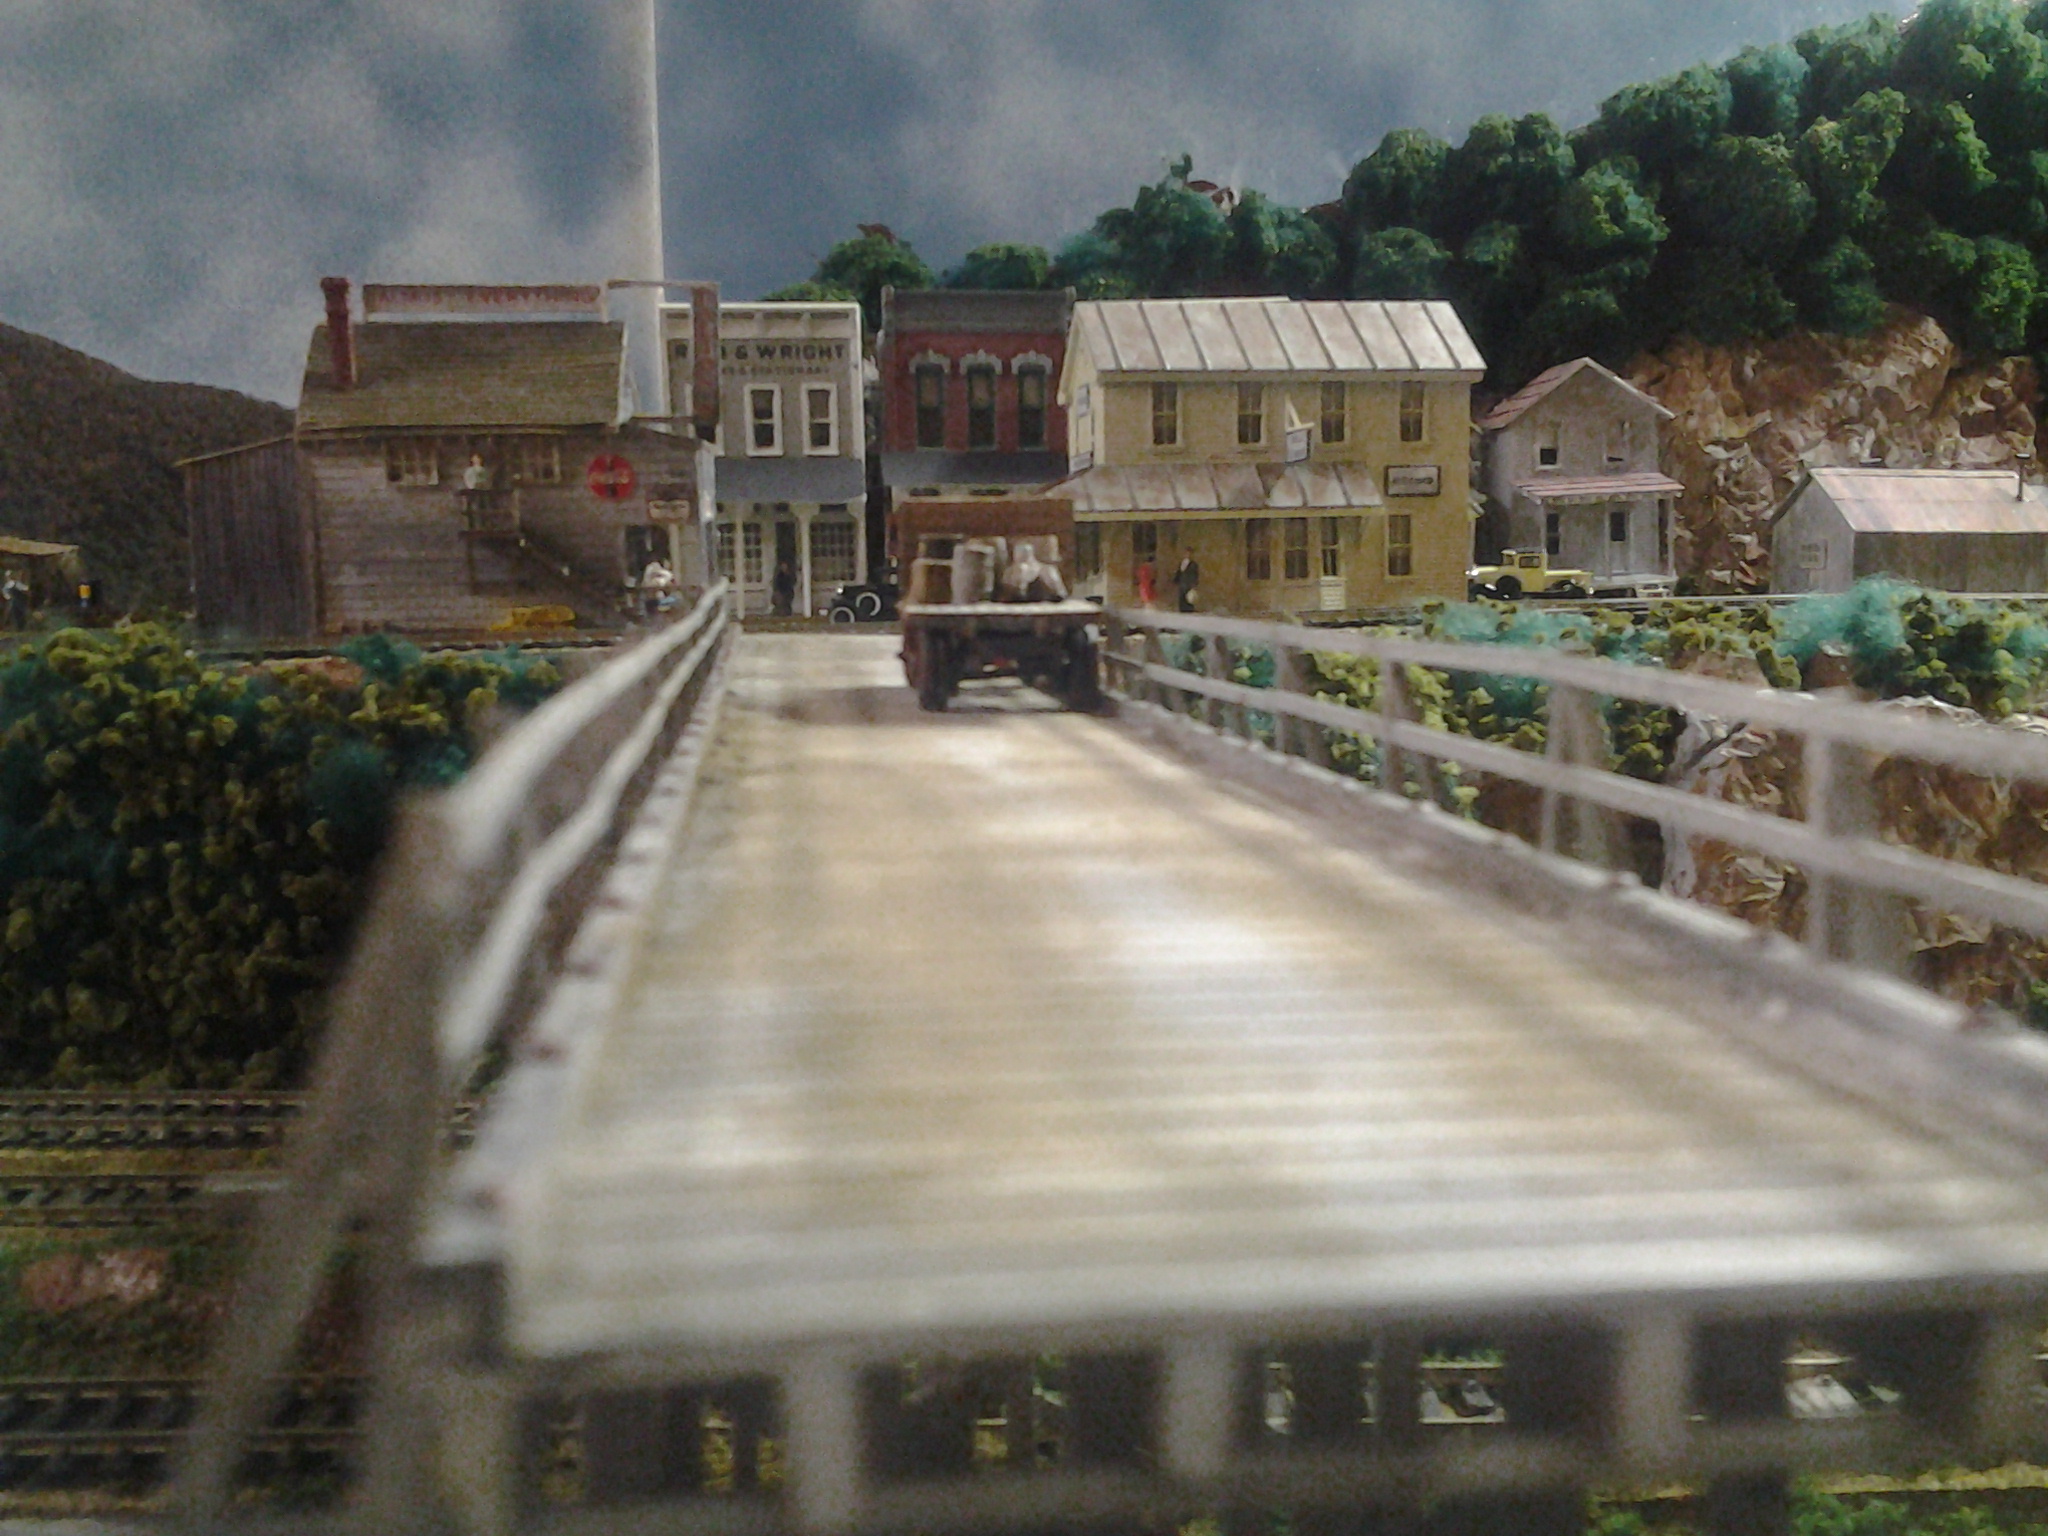
This impressive photo was kindly supplied by Ron.
Carl sent in this tip to share:
Just before I talk about how I make roads for my layout I want to mention Bragdon weathering chalks which I use to simulate oil stains and car tire marks. I use soot black and grimy black colors. I like Bragdon chalks because they stick to most surfaces, are self-sealing (no drying, or curing is required), and you only need to use a little. They also come in a good range of colors. Rub them on the surface and they release a bonding substance so the chalk won’t come off the model and get all-over your fingers. The trick to using chalks is to build up the effect slowly.
Now, back to the road construction:
–> I use Hydrocal for most of my road surfaces
–> I wait until the Hydrocal road is almost dry, and then I use a thin piece of wire to scratch out some little cracks in the roadway
–> When it’s dry I paint the road using a concrete color, but vary the shades a little
–> I then use an India Ink/rubbing alcohol mix (or thinned black acrylic paint) to carefully fill each crack using a thin artist’s brush
–> Lastly, I use chalks (soot black and grimy black) to simulate oil stains and vehicle tire marks.
As a point of interest, I also use chalks for weathering vertical streaks under window sills (where rain has washed down) and on roofs.
More clever scenery tips available at http://www.modelrailwayscenery.org/model-railroad-scenery.html
Ian sent in this tip to share:
For code 100 or smaller track, use a solder iron with a conical type tip. The end of the tip will be unplated iron. This is the area that gets coated with solder. The rest of the iron tip will be copper plated with iron, nickel and chrome. The chrome stops the solder from adhering to the body. For larger rails than code 100, you might want use a screwdriver shaped tip instead.
Add your comment.
From Michael W:
Sticking wiring through 2″ thick styrofoam can be testing for any of us. However there are a couple of easy methods. Use a knitting needle and thread the end of the stripped 22-gauge wire through the eye. Then push the needle through the top of the foam and pull it out from underneath with the wire attached. A sailmaker’s needle will work just as well if the wife doesn’t like you borrowing her knitting needles. Coating the knitting needle with some rubbing alcohol will help it slide through easier.
Add your comment.
Our recent poll asked “Did you get any trains or model railroading accessories for Christmas?”
The 394 participants said:
–> YES – I got what I was hoping for (31%, 124 Votes)
–> Yes – But not what I was expecting (6%, 20 Votes)
–> No – Unfortunately I missed out (52%, 206 Votes)
–> No – I haven’t got a layout yet (11%, 44 Votes)
Add your comment.
 Switching tracks direct the train from one track to another. This is achieved by points which are moveable rails, lying outside the main track.
Crossover: A crossover switch lets trains on one track to continue in a straight path or diverge onto an adjacent track. When both tracks diverge onto each other, a double crossover track is formed.
Three-Way: A three way track splits a track into three different directions.
Wye: A wye track allows the train to change directions. The train can go both right and left through a single track.
Double Slip: A double switch guides the train on four different routes. Two tracks combine with four points to achieve this.
Wayne sent in this little tip to share:
Here’s a clever but simple idea I saw used. This guy had spray painted some left-over circuit boards with dark gray paint. He then cut them up to fit inside an industrial building. He added some lights and three little model figurines of workers to create a factory scene. Last I heard he was adding a lighting circuit (flashing arc lamp) to simulate someone welding.
For more clever scenery techniques go to http://www.modelrailwayscenery.org/model-railroad-scenery.html
If you have a tip you would like to share with others in the hobby go to http://www.model-railroad-resources.com/train-tips.html
Art sent in this tip to share:
A great way to make asphalt roads is to mix beach sand into a container of black paint then trowel it on. By laying down styrene or wood strips along the roadway edges, the paint will flow to the curbs. The black top goo should be pretty stiff, but still liquid enough to self-level.
For more scenery ideas http://www.modelrailwayscenery.org/model-railroad-scenery.html
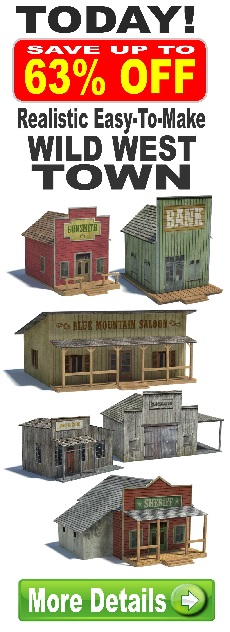
 —> The BIG BUNDLE packs of model buildings (with up to 67% OFF the regular price) are now available . Here is the link to one http://www.modelbuildings.org/big-bundle-deal-1.html
—-> Some of the popular multi-packs with 35% – 49% saving are now available from the same website.
Also, if you haven’t get joined my Online Model Train Club, please consider it. The content and resources gets updated every month and there are some exciting developments in the pipeline. The club is going from strength to strength and is too good to miss!
Remember to BOOKMARK the blog so you can check for regular updates. And feel free to add your comment to any of the postings.
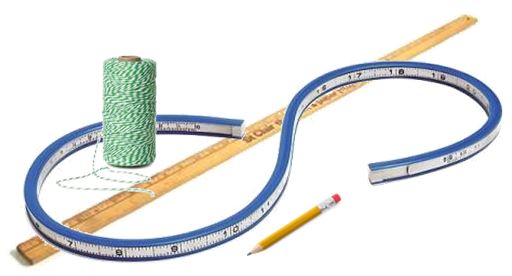 Most model railroads have curves, so it is important to know what radius is needed for smooth running and to avoid derailments. The next thing is to work out whether the curve will fit where you want it to go, and then to draw it to see how it looks. There are various ways to do this including using a flexible curve ruler (pictured) to form the required curve. Securing one end of some twine to a nail and the other end to a pencil is another way to draw a neat curve. I made a radius tool from a wooden yard ruler. I inserted a nail at the 1″ mark and drilled several holes at various intervals along the ruler. I then poke a pencil into a hole to scribe a curve. For example, if I want a 22″ radius, I drill the hole at 23″ (22″ from the nail). As any carpenter will tell you “measure twice, cut once.” It is simple advice, but well worth remembering.
Just released is a series 6 new low relief houses to build. They are really easy to assemble using foam core or core flute from a local art store or hardware DIY. I paid less than $10 for a giant sheet and it made several buildings. They are extremely sturdy and very realistically weathered. Each building is less than $10, but right now if you buy all 6 you pay only $19.95 (a 49% SAVINGS) Here is the link to the special offer http://www.modelbuildings.org/low-relief-buildings-C.html
The latest model train poll asked: Will you let friends and/or family operate your trains over the Christmas break?
357 people responded as follows:
–> Yes – I even let the Children have a go (37%, 133 Votes)
– -> My trains won’t be operating (17%, 59 Votes)
–> I haven’t got a layout yet (15%, 54 Votes)
–> No – they’re not interested (11%, 40 Votes)
–> No – that’s too risky (8%, 29 Votes)
–> Yes – but only adults (7%, 24 Votes)
–> Yes – but only experienced operators (5%, 18 Votes)
Add your comment.
Mark has a question you might be able to help him with:
“I want to raise a layout to ceiling height. What is the best way [motor] to achieve this ?? My grandsons keep on about having a setup in the garage, but I have not the room.. Any suggestions?”
Add your comment.