Planning
Everything on model trains, model railroads, model railways, locomotives, model train layouts, scenery, wiring, DCC and more. Enjoy the world's best hobby... model railroading!

Comment below.
John wants to build an HO layout and asks:
“Can I build an HO layout on a 36″ X 80″ platform? If so Where do I buy the layout plans?”
Comment below.
It doesn’t sound like Tom has bought my Model Train Help ebook yet… and needs to.
However, in the meantime, perhaps someone would like to give him some suggestions:
Tom asks:
“I have my desiginated space for a layout established, but now where and/or how do I start. I have a list of things I want on my layout, but no idea how to get started. Help!!”
Add your suggestions below.
Timothy has a question for experienced model railroaders and asks:
“I just retired few months ago after almost 30 years with postal service, I decide to make train model for my hobby. Here is question, I’m going use my old bedroom door, layout size is going to be 36 in wide and 80 in long, what you would recommend size for gauge for that size. Also which train set I should use for first time?”
Add your comments below
Remember if you see something you like on this blog and you would like to share it with friends in the hobby then your welcome to use the facebook and twitter buttons bellow each posting.
Also if you have a website you make like to add the RSS feed in the top right hand column. To add a live feed of this blog to your own model train website.
Chris wants suggestions from readers before he builds his new layout.
“I have an area that is 4.55 metres long by 1.20 metres wide reducing to .90 metres halfway along the overall length. I would ideally like the layout to have a run that will go the full length and turn round at both ends. Do your readers have any suggested oo-gauge layouts that will help me get started?”
Add your suggestions below.
Mike Williams writes:
So you have been operating model railroads for a while. Perhaps you have built the ultimate N scale scenery, or an HO layout, and captured a living world within a paper mache landscape. There is nothing quite like looking upon a scene like that frozen in time. Your train set might have people standing in a small rural town, or perhaps the image of people rushing to work in an urban community. No matter what you like, you can just make it better, even if you think that it can’t get any better than this. You would be wrong, because the hobby of model railroading has so much to offer.
DCC model railroading is something that most advanced modelers will inevitably pick up, especially if they enjoy extreme realism in their train sets. This is basically an electrified train system. We are talking about a system where electricity flows through the rails all the time, and you can use a digital control center to help you give orders to your train.
But it doesn’t stop there by any means. There are so many different things you can do with DCC decoder wiring. For example, you can attach a computer system to your setup so that you can control the train’s movement with some basic controls. You might often find things like this at train shows or even in train museums.
There is a common misconception that DCC model trains need to be different from standard model trains. This is not true. In fact, most model trains are sturdy enough to deal with the DCC system. The DCC decoder wiring involved installing the decoder within the train, and fortunately most trains have a universal frame or undercarriage these days. There was a time when they did not match up, but that was changed as the model railroad hobby grew in popularity.
Don’t forget that you can also add a DCC sound system to your train set. There are many sounds available, many of them taken directly from real trains or train museums. Choosing a sound system will be something you have to do on your own, but we do recommend choosing one of the highest quality.
When you are wiring your DCC model train system, you need to ensure that you make it so that you can break down the system easily and move the benchwork. Even if you are not planning to go to any train shows in the near future, it still helps to be able to move the entire setup. You could need to move it to the basement, or maybe you need to just put it in a better location. Either way, the wiring AND the benchwork need to be portable. You might also want to avoid putting the wiring blocks in an inconvenient location so that they don’t break as you drag the table.
We’ve just scratched the surface here regarding DCC trains. There is much more to learn, so head over to your local model shop today. Ask, inquire, buy e-books, whatever you have to do. Don’t be put off by complicated sounding terms like: DCC model train system, or digital control center… just try to learn a little each day and it will all make a lot more sense. There is a huge world of model railroading out there waiting for you. Enjoy it!
Mike writes on a range of subjects from business to real estate to model trains. Mike is a keen model railroader and enjoys sharing his model train tips.
If you answered yes to that question, then perhaps you are able to help others by answering some of their model railroading questions on this blog? On the other hand, you could keep all your knowledge and experience to yourself and not share it with those who could really benefit from your thoughts and who would appreciate your suggestions. It is really your choice, but please remember this blog is operated as a free service and it does rely 100% on the contributions from people like you. We want to keep it free, but to do that we need regular contributors who are prepared to answer some of the many questions that get asked. The alternative is for us to pay someone to answer all the questions, but then we would have to charge a subscription to the blog and we don’t really want to do that.
So, if you can help by answering some of the questions on this model train blog, then please do.
Jeff has a question for experienced model railroaders and asks:
“When starting out, do you lay down your tracks first to get an idea of how it will end up?”
Comment below.
James is hoping for some pointers from readers and hopefully he will get the Model Train Help ebook too (as that would be a big help to him). Here is his question:
“I am trying to get into the SPORT with my grandsons. However, I need some numbers like the minimum radius and the speed for various super elevations of radius for the different gauges in ho and n. Can someone tell I am and old civil engineer the answers. Your help is much appreciated”
Comment below.
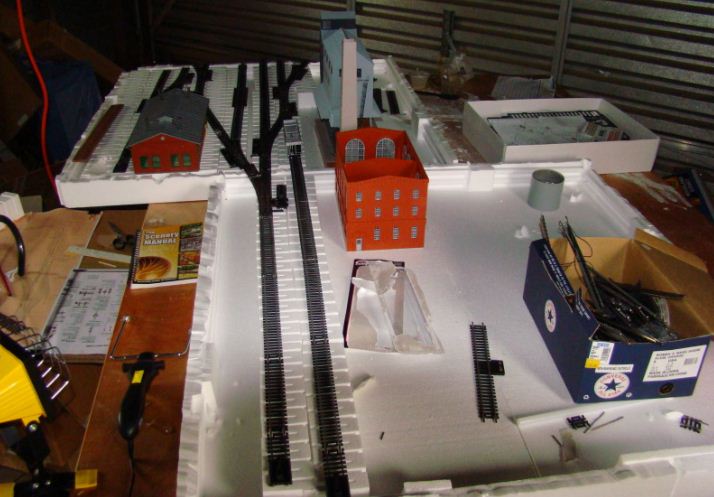
Ben has kindly contributed this article for publication.
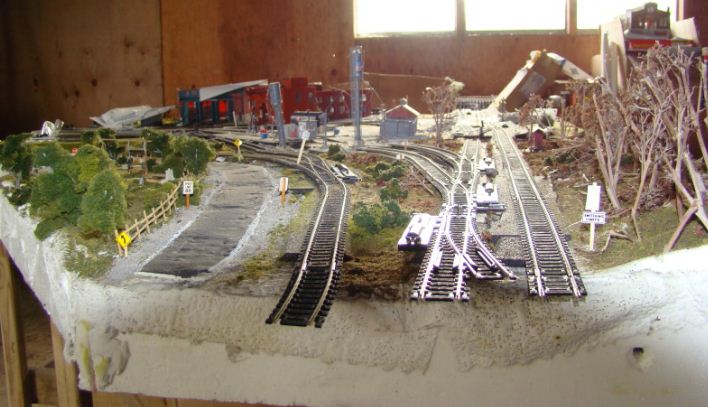
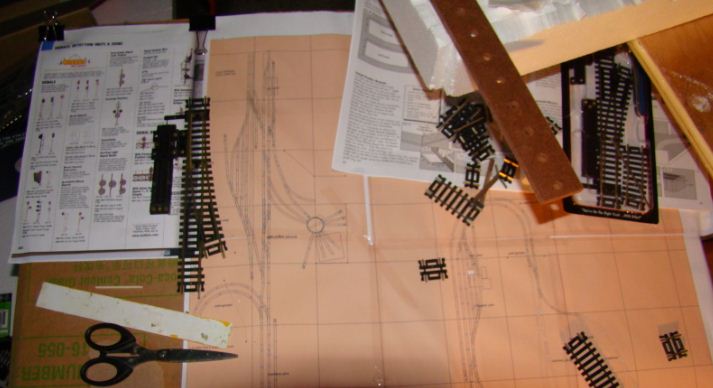
This next picture shows the current plan of my layout. Apologies for the quality. On the left of the plans is Scene One which I am currently building, with Scene Two (The Bridge Duplication and Mainline Industries) down at the bottom of the shot. Scene Three (The Coal Mine) can be seen at the centre of the plan with Scene Four (The Staging Yard Loop) located underneath that 1/3 18″ radius track.
Larry asks several questions which are answered in the Model Train Help ebook:
“I am considering getting back into model railroading and have to limit my layout to no more than 4X8′. Can a decent layout be made for HO gauge, or must I downsize to N gauge. Also, is there more reliability to the larger stock of HO? Is there more of a variety of buildings and other scale items for HO?”
If you wish to offer Larry some helpful advice, then please comment below.
Norm has a progress report on his layout:
“I am working on a 6 foot by 16 foot layout with about 240 feet of track laid down in two folded dogbone figure eights with one simple outside loop. Track switches allow for access across all three main line runs.
I have been working on this part time (remember, this IS a hobby) since November of 2007, with a timeout period of 6 months while upgrading and rewiring the house electric system. I have been taking photos of the project at various stages of the build. I currently do not have any scenery in place yet. Except in a very few spots, the layout has 22 inch radius curves or larger and all grades are less than 2%. I am currently in the process of attaching wiring to the track switches.”
Tom has a question for anyone with a garden railroad and asks:
“I am going to enlarge my G scale layout. What do your readers think are the best design systems for an intermediate knowledge base – track, electrical and structure/scenery. “
Comment below.
Rich (Charles) asks this question of readers:
“I have a 4×8 table built and want to convert an old HO under and over Dogbone layout I built in HO many years ago. I’m not sure about calculating how much track to buy. I have been 25 years or more just getting started again.”
Comment below.
Carl has submitted this layout construction question for publication, but it might be useful if he could supply a little more information to help anyone trying to answer his question. Carl maybe you could enlighten us as to the type of scenery, cars you already have and what you have already done. What would you like to do?
Carl asks: “I am limited on space, I have collected scenery, some cars and so forth, but what can I get away with? I have an area 4×8 to start with but that would put it in a corner.”
Add to this posting below using the green Comments link.


