Everything on model trains, model railroads, model railways, locomotives, model train layouts, scenery, wiring, DCC and more. Enjoy the world's best hobby... model railroading!
Brill Trolleys Won’t Run Smoothly
Clement asks:
“HI have various Brill Trolleys and all have stopped running or go through a stop and go action. If I push them they will run, but again will stop or stop and go. Can anyone tell me what I’m doing wrong please?”
Comment below.
Waybill Systems For Train Operation
A reader with the nickname “Tbone” has a question for others in the hobby:
“I’m tired of just running trains around my layout. I now want more purpose for my system. I understand a little about how waybills work but need more input. What computer programs and/or other means do modelers use to operate and justify their layouts?”
Trackwork Underway For Club’s Latest Layout
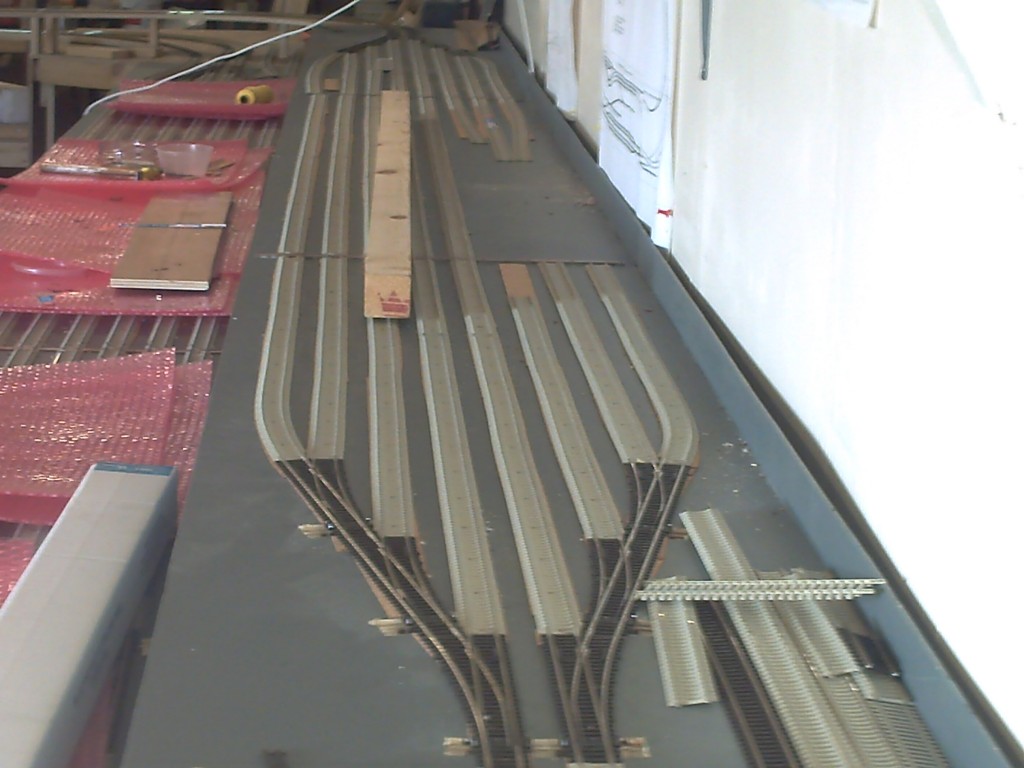 Barry from Soar Valley Model Railway Club kindly sent in this update of progress on their new layout:
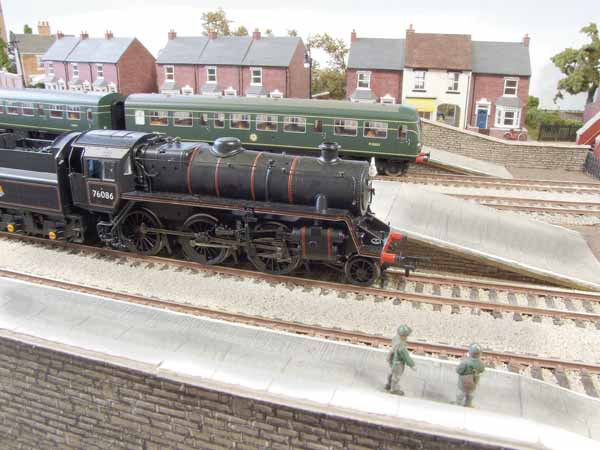
This photo show progress of the new “00” modern image Monkton Howland layout at the Soar Valley Model Railway Club at LEICESTER in the UK. The layout will be capable of running either analogue or DCC.
The base boards are all 6ft x3ft modules made up with 3 x 1 frame work and 12mm ply surface.
With 2 x 1 frame work legs. For ease of transportation to Exhibitions.
Trackwork is PECO 100 modern sleeper, So that members proprietary stock can be run. The layout is on two levels and is ballasted with material obtained from Wales.
Mixed with a PVA solution and meticulously infilled between sleepers and shaped chamfered shoulders, rails cleaned off immediately, Rail sides are painted to represent rust.
Point work is done dry and tamped then carefully syringed with PVA solution. And point the work operated immediately to make sure they work properly. The point motors are PECO. Wiring is connected via multi-pin connectors between each board. Scenery is constructed with Polyfiller mix and flock also we use worn normal foam back carpet for undulating landscapes, painted and flocked. Trees made from twisted wire painted and flocked, all buildings bridges and viaducts will be a mixture of proprietry manf. And hand scribed thick card. Water is represented using liquid polyurethane.
The Soar Valley Model Railway Club will have an Exhibition on 6th. & 7th. April 2013 at MARTIN HIGH SCHOOL, LINK Rd. ANSTEY, LEICESTER. LE7 7, UK.
O Vehicles For Layout
Richard seeks advice from fellow model railroaders and asks:
“I am working on a new O scale layout and am having a hard time finding vehicles. Layout based in mid to late 1950’s. Any info on where to obtain properly scaled vehicles will be appreciated.”
Add your suggestion below.
HO Scale Muskoka Central Railway
Steve sent in these photos to share:
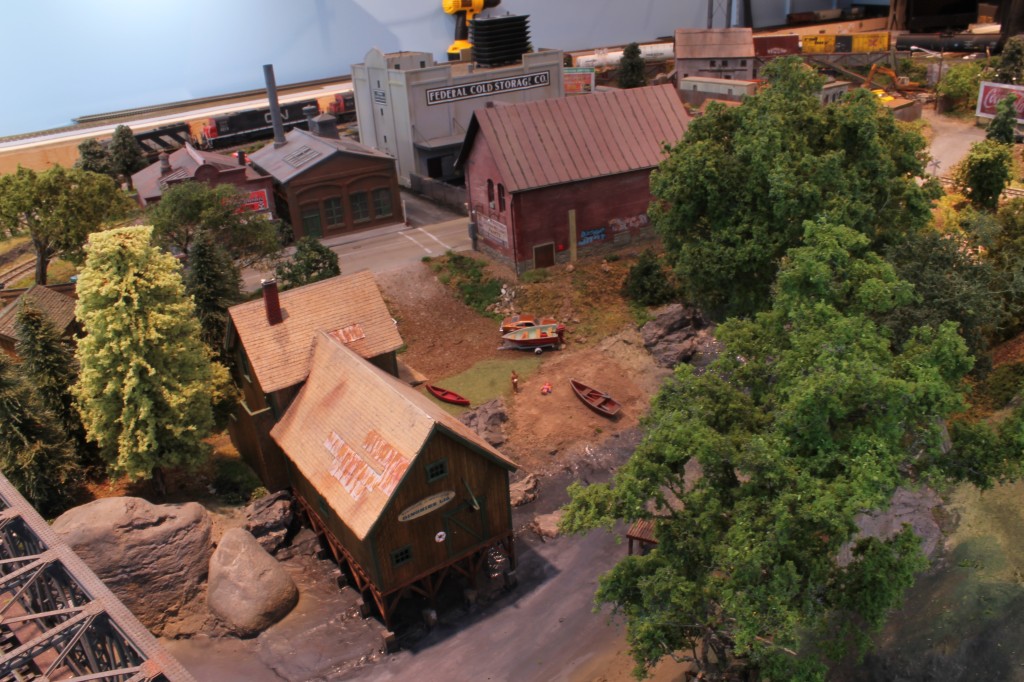
I model the Muskoka region of Ontario Canada. It is a Proto-Freelance railway set in the early 80’s. It contains both CN and Ontario Northland power and rolling stock. There is currently two continuous loops, plus sidings on one level. The plan is set to expand to two larger loops but with the ability to have point to point operations, including a helix to a shelf which extends around the room. Special emphasis has been placed on weathering and detailed scenery.
Louver Glass Windows for Scratch-Built Layout Structure
Lee asks:
“I am trying to model a railroad in a tropical setting. Most of the structures for HO gauge modeling have brick structures with casement windows. I have not been able to find any windows like I need. The louver windows are narrow glass blades that are 4″ wide and 24″ or 36″ or more in length with 10 or 12 louvers per window in the real world. Does anyone know of someone who sells such HO gauge windows? Building my own would be very tedious!”
Add your suggestions.
HO Scale – Adding a Decoder to an Older Engine
David asks for your help:
“I have a Proto 2000 loco which is probably 20 years old, and would like to add a sound decoder. I looked last night and am not sure if I need to unhook the small computer board at the back of the motor. I’m assuming (trouble I know) that the old board was partly to control the MARS light. Will the decoder work with the board in place, or will there be problems. It’s been a while since I’ve installed a decoder and as it’s a Sumnami I’d like to get it right the 1st time. Any other tips about installation would be appreciated. Yes, I do have LED’s and resistors. Thanks!”
Why Was Gauge Used?
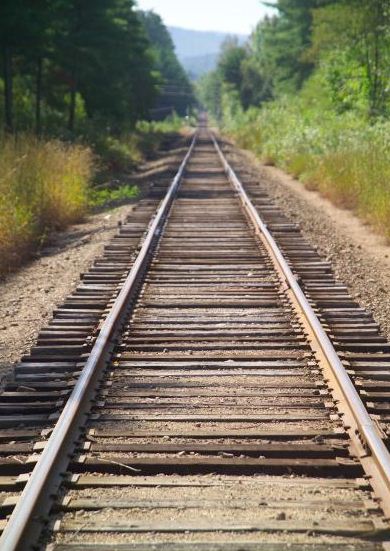 Dave sent in this interesting yarn to share. You are welcome to send this link to your friends.
The US standard railroad gauge (distance between the rails) is 4 feet, 8.5 inches. That’s an exceedingly odd number.
Why was that gauge used? Because that’s the way they built them in England, and English expatriates designed the US railroads.
Why did the English build them like that? Because the first rail lines were built by the same people who built the pre-railroad tramways, and that’s the gauge they used.
Why did ‘they’ use that gauge then? Because the people who built the tramways used the same jigs and tools that they had used for building wagons, which used that wheel spacing.
Why did the wagons have that particular odd wheel spacing? Well, if they tried to use any other spacing, the wagon wheels would break on some of the old, long distance roads in England, because that’s the spacing of the wheel ruts.
So who built those old rutted roads? Imperial Rome built the first long distance roads in Europe (including England ) for their legions. Those roads have been used ever since.
And the ruts in the roads? Roman war chariots formed the initial ruts, which everyone else had to match for fear of destroying their wagon wheels.
Since the chariots were made for Imperial Rome , they were all alike in the matter of wheel spacing. Therefore the United States standard railroad gauge of 4 feet, 8.5 inches is derived from the original specifications for an Imperial Roman war chariot. Bureaucracies live forever.
So the next time you are handed a specification/procedure/process and wonder ‘What horse’s arse came up with this?’, you may be exactly right. Imperial Roman army chariots were made just wide enough to accommodate the rear ends of two war horses. (Two horses’ arses.)
Now, the twist to the story:
When you see a Space Shuttle sitting on its launch pad, there are two big booster rockets attached to the sides of the main fuel tank. These are solid rocket boosters, or SRBs. The SRBs are made by Thiokol at their factory in Utah.
The engineers who designed the SRBs would have preferred to make them a bit fatter, but the SRBs had to be shipped by train from the factory to the launch site. The railroad line from the factory happens to run through a tunnel in the mountains, and the SRBs had to fit through that tunnel. The tunnel is slightly wider than the railroad track, and the railroad track, as you now know, is about as wide as two horses’ behinds.
So, a major Space Shuttle design feature of what is arguably the world’s most advanced transportation system was determined over two thousand years ago by the width of a horse’s arse. And you thought being a horse’s arse wasn’t important? Ancient horse’s arses control almost everything!
Soar Valley Model Railway Club Grows From Small Beginnings
The Soar Valley Model Railway Club (SVMRC) stirred in June 1981 when about six enthusiasts met at the Manor House pub in Quorn in the UK. The landlord, also an enthusiast offered the stable loft alongside the hotel as a clubroom but only if we cleaned and cleared away years of accumulated rubbish including several dead birds and rotted food.
At the first proper meeting a constitution was written, officers elected and a recruitment drive initiated. By Easter 1983 the club was arranging it’s own small exhibition. The club established itself with good management and a strong membership and had gone from strength to strength from the small beginnings with only six members. SVMRC currently has 55 members.
Dorehill St. Stevens (00)
The layout measures 41ft 9ins x 14ft 6ins on 22, 6ft x 3ft or 2ft 6ins boards made from 12mm exterior ply on 75mm x 25mm battening, with occasional variations as can be seen in the canal area. The layout ideally requires ten operators but can run with only seven.
Sowters Lane (009)
Sowters Lane is a fictitious “009” narrow gauge junction layout, situated in a rural location and is based loosely on a number of slate, coal and quarry railways. Trains converge from the three quarry and mine and takes them via the junction at Sowters Lane to the Main line transfer yard off scene . In addition to the mining traffic the occasional passenger and goods freight trains can be seen meandering through the scenic countryside, where the keen eyed will spot the blacksmith welding in his works and the Farrier working on his horse shoes. The local bus awaits passengers to be taken to the nearby town, the taxi awaits fares and the postman makes his rounds delivering letters.
Aylett End (00)
This layout is based on a Southern Region branch line terminus around the Ashford area in the British Railways era 1950s & 1960s.
Hardington Valley (Hornby Dublo)
The station is based on a large provincial town with a goods yard, sidings, coal staithes and working colour light signals.
The club is currently developing 3 new layouts:
Monkton Howland (00) – A modern image DCC layout .
Shawley (0) – A 1950s branch line, loosely based upon the Charnwood Forest Railway.
Swithland Sidings (N) – A semi-fictional recreation of the area around Swithland Sidings on the
Great Central Main Line, set in the 1950s.
N and HO Layout With Lumber Town
Arlin sent in this update of his layout:
“My layout is a mixture of some old and more recent era which depicts many small lumber communities in Oregon. The wiring under the deck has been slow because I’m not able to get under and my neighbor has been helping in his free time, so that has me at a stand still. We are in the process of connecting the lights for most all structures and street lights. In the corner of the layout will be a stream, waterfall and lake with a camp ground. I have added a hobo camp in a front corner so kids can see it up close. The N scale is lake a back drop to the HO and will feature a small town and farm scenes. Back drop scenery is also in the works. It seems to never end! That is why my wife refers to me as “Chug Along Arlin.”
Model Train in Clear Plastic Tube
Cathy is working on an interesting concept and asks readers for suggestions:
“I’m trying to run an HO (or bigger) train through a sealed clear plastic tube (or other clear material). The tube would go under water for a short distance then come out and go around a lay out. The water would be in a small elevated pool at the bottom of a water feature, still in the making. A lot to accomplish but have had this idea for years and now I’m trying to put my two loves together-water and trains. Do you have any suggestions or could you refer me to someone who can?”
Add your ideas below.
Z Transformer Lighting
Rainer sent in this question for readers:
“I have approx 80 bldg. yard lights on my layout (without the signals) spread over 4 Marklin # 67271 transformers I would like to transfer all of them to 1 light designated power supply but can’t find the answer as to what the minimum power output for this transformer needs to be. I truly would appreciate your advice.”
Add your thoughts below.
Repair Parts for MTH Tank Cars
Keith wants help from others and asks:
“I have 6 Hooker O Chemicals tank cars #20-96187 from 2009 in which the black snap on foot board and railing assembly has become broken. I had a unit train of Hooker tank cars and it was parked at the edge of the board. My cat (Cinders) jumped up on the train layout and knocked 6 cars to the floor and the catwalk railing broke off. I have tried MTH but they said they had no repair parts. Can anyone suggest a source for parts.”
Add your suggestion below.
Virginian Railroad el-2b Electric Locomotive
R.C.Belcher sent in this question for readers:
“I am 72 yrs old and I was raised within 50 yds. of the Virginian Railroad, formerly known as the Deepwater Railroad. I live about 2 miles outside of Princeton WV, still close to the railroad. I have been trying to find a EL-2B Virginian electric locomotive with the pantograph in ho scale. The one I did find was over $1700.00, way out of my price range as I am retired and on a fixed income. I would be greatly appreciative of any help I can get. I am a greenhorn in this. I already have the N&W Powatan arrow still in the box.”
Painting Structures On A Model Railroad
I always use flat (not glossy) acrylic paints for painting structures. The trick is to paint the parts (either with an airbrush or using a paint brush) BEFORE installing them. This is really important, because most adhesives will prevent the paint from sticking, or the washes from soaking in.
It is easier to paint a structure before assembling or installing it in place. You shouldn’t have to lean over your layout to paint a structure as this is uncomfortable and will result in a messy job. It is easier and neater to assemble pieces after they are painted.
Usually start by painting the lightest colors first, before painting the darker colors. It is generally easier to touch up lighter colors with darker tones, rather than the other way around. However, in saying that, there are exceptions to the rule. Thin washes of light paint colors can sometimes add an excellent weathered look when applied over dark colors. I have seen this done on the sides of rolling stock wagons and on brick walls where thinned washes of light browns and light reds are applied over black paint.
The online Model Train Club has a section on Detailing & Weathering as well as a section on Building Structures, and another on Making Scenery. Watch the 3 new videos.
A little trick I use is to apply some paint on an old rag and then drag the strip-wood through your fingers while holding the rag. This can give the effect of well aged paint.
