model train scenery
Everything on model trains, model railroads, model railways, locomotives, model train layouts, scenery, wiring, DCC and more. Enjoy the world's best hobby... model railroading!

Budget-Friendly Scenery Techniques for HO, OO, and N Scale Layouts
Model railroad scenery can easily become one of the most expensive parts of the hobby… but it doesn’t have to be. In fact, some of the most realistic scenery effects don’t come from hobby shop shelves at all. They come from everyday household items, garden finds, and workshop leftovers.
If you’re building a HO scale, OO scale, or N scale layout and want it to look convincing without draining your wallet, these low-cost scenery ideas will surprise you. They’re simple, effective, and perfect for adding texture, variety, and realism to your model railroad.
Nature is messy, uneven, and full of variation. Ironically, that’s why some commercial scenery products can look artificial… they’re too uniform. When you use natural or improvised materials, you automatically introduce randomness, which helps your layout feel more like the real world.
Let’s dive into nine clever, budget-friendly scenery techniques that work beautifully across all popular model train scales.
One of the easiest and cheapest ground textures may already be in your kitchen. Used tea leaves and coffee grounds make excellent soil, forest floor debris, and dried vegetation.
After brewing, spread them out to dry completely… either in the sun or in a low-temperature oven. This prevents mold and improves adhesion. Once dry, sprinkle them over white glue or scenic cement and mist lightly to lock everything in place.
Tea leaves work especially well for fine textures, while coffee grounds give you a darker, richer soil look. The result is subtle, realistic ground cover at virtually zero cost.
Fine-grade steel wool or plain kitchen scrubbing pads can be turned into convincing bushes and low shrubs. Pull them apart gently to create irregular shapes… avoid neat clumps.
Spray the material with dark green or brown paint, then sprinkle on turf or flocking while the surface is still tacky. Once dry, glue the bushes into place along fence lines, embankments, or trackside areas.
This method produces excellent texture and works especially well for HO and OO scale scenery.
Cotton wool balls are ideal for background scenery where you want shape without heavy detail. Pull the cotton apart into loose clumps and attach them to hillsides or backdrop edges.
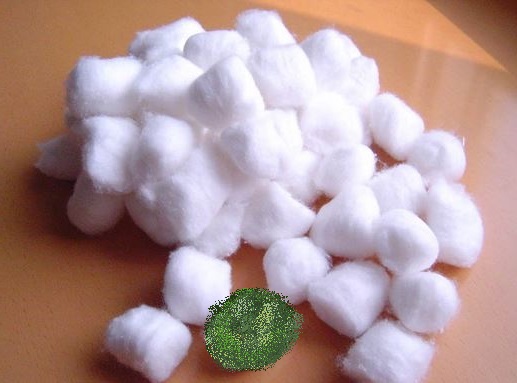
Lightly spray or brush them with muted greens and browns. When placed toward the rear of the layout, these soft shapes suggest distant trees and foliage without drawing attention to themselves… perfect for forced perspective.
If you have a damaged flyscreen or window screen, don’t toss it. Cut it into narrow strips and use it as instant chain-link fencing.
Glue the screen between posts made from toothpicks, matchsticks, or thin wire. Paint it a dull silver or light grey, then add a thin rust wash for realism. This technique is ideal for industrial areas, sports fields, scrap yards, or railway maintenance zones.
It’s a small detail that adds big realism for almost no money.
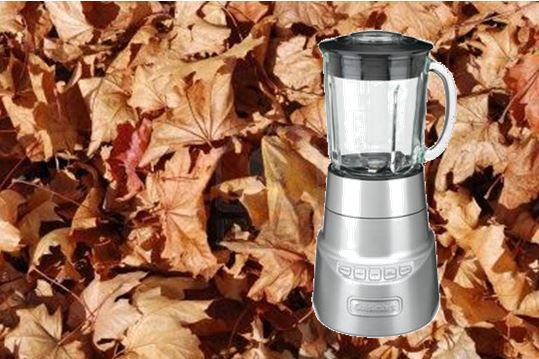
Workshop leftovers like pencil shavings and sawdust make excellent scenery materials when used correctly. Finely chopped pencil shavings can represent dry leaves, bark, or forest debris.
Sawdust works well for dirt roads, footpaths, yard areas, or lightly used sidings. Sift it to get a consistent texture for your scale, then color it with diluted acrylic paint or wood stain if needed. Apply over glue and seal with a light mist of scenic cement.
Crumpled aluminium foil can be transformed into convincing scrap metal. Roll small pieces into loose balls, compress them into irregular shapes, and glue them into piles.
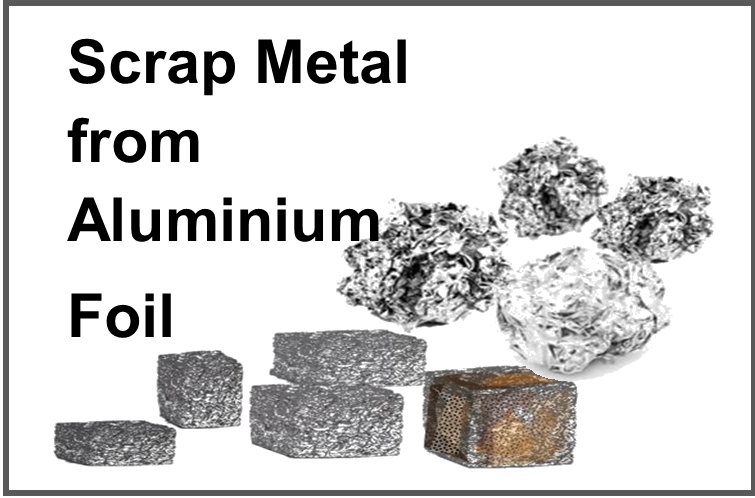
Paint them rusty brown, dark grey, or grimy black. Add these piles near workshops, yards, or industrial scenes. In smaller scales, this trick works especially well because the irregular shapes naturally hide the material’s origin.
Some of the best model trees come straight from nature. Dried weeds, twigs, and flower stems… especially those with fine branching… make outstanding tree armatures.
Plants like Queen Anne’s Lace, yarrow, or similar dried stems are ideal. Spray them brown or grey, then apply spray adhesive and sprinkle with fine turf or flocking.
Each tree ends up unique, with a far more natural silhouette than many plastic alternatives. Best of all, they’re free.
Dried parsley, oregano, thyme, or basil can double as instant ground cover. Crush them finely and use them for weeds, undergrowth, or grassy patches.
They work particularly well in smaller scales where fine texture matters. Just be sure the herbs are fully dry, then seal them with scenic cement to prevent deterioration over time.
Corrugated cardboard is a hidden gem for structure detailing. Peel away one flat layer to expose the ridged core, then cut it into panels.
Paint the panels silver, grey, or rusty brown to simulate corrugated metal roofing or siding. Add dry-brushed rust streaks or soot marks for extra realism. This technique works beautifully on sheds, warehouses, and industrial buildings, especially in HO and OO scale.
You don’t need expensive materials to build realistic model train scenery. With a bit of creativity and a willingness to experiment, everyday items can outperform many store-bought products.
By mixing textures, avoiding uniformity, and thinking like nature… not a manufacturer… you can create scenery that looks authentic, lived-in, and uniquely yours. Your layout will look better, feel more personal, and your budget will thank you for it.
How to Create Realistic Model Railroad Scenery That Looks Like the Real World
A model railroad is more than just track and rolling stock. What truly brings a layout to life is the scenery surrounding the trains. Realistic model railroad scenery creates the illusion of distance, scale, and place, transforming a simple track plan into a believable miniature world. The good news is that you don’t need professional art skills or expensive tools to achieve great results. With proven scenery techniques, careful layering, and a bit of patience, you can make your model train layout look natural and convincing.
Below are practical, beginner-friendly techniques used by experienced model railroaders to create scenery that looks realistic in photos and in person.
Before adding grass, trees, or structures, focus on shaping the land. Hills, embankments, valleys, and gentle slopes are the foundation of natural-looking model railroad scenery. Real landscapes rarely feature sharp vertical walls unless you are modeling cliffs or quarries.
Lightweight materials such as foam board, extruded polystyrene foam, or crumpled newspaper covered with plaster cloth work extremely well. Foam is especially popular because it is easy to carve, clean to work with, and lightweight.
Carve smooth transitions between elevated and flat areas using a utility knife, rasp, or coarse sandpaper. Subtle variations in height make a layout feel larger and more realistic than perfectly flat terrain.
One of the most important scenery tips is also one of the simplest. Always paint your terrain before adding ground cover. A flat earth-tone color such as brown, tan, or gray works well depending on the region you are modeling.
This step ensures that if small gaps appear in the grass or dirt later, they still look natural. Painted terrain prevents white plaster or pink foam from breaking the illusion and instantly improves realism.
In the real world, dirt comes before grass, and the same logic applies to model railroad scenery. Start by applying a fine layer of real dirt (sifted and baked) or commercial scenic soil products.
Spread the dirt over diluted white glue or scenic cement, then lightly mist with water to help it settle. Once dry, this layer becomes a realistic foundation for everything above it.
When adding grass, static grass provides the most realistic results. It stands upright like real blades of grass and creates natural texture. Use multiple shades and lengths to avoid a uniform, artificial appearance.
Layering is the secret to making model train scenery look realistic. Avoid using just one material across large areas. Instead, combine fine turf, coarse turf, weeds, ground foam, and natural textures.
Add small twigs, dried herbs, or leaf litter to represent forest debris. These subtle details add depth and visual interest. Nature is messy and irregular, so embrace variation rather than neat, even coverage.
Trees and shrubs are major visual elements on any model railroad. Homemade trees often look more realistic than ready-made plastic ones and cost far less.
Wire armatures, seafoam, or dried plant stems make excellent tree bases. Cover them with adhesive and apply fine turf or flocking for foliage. Vary tree heights, colors, and shapes to avoid repetition.
Bushes and undergrowth can be made from lichen, clump foliage, or teased polyfiber sprinkled with scenic foam. Group vegetation in natural clusters rather than straight lines for better realism.
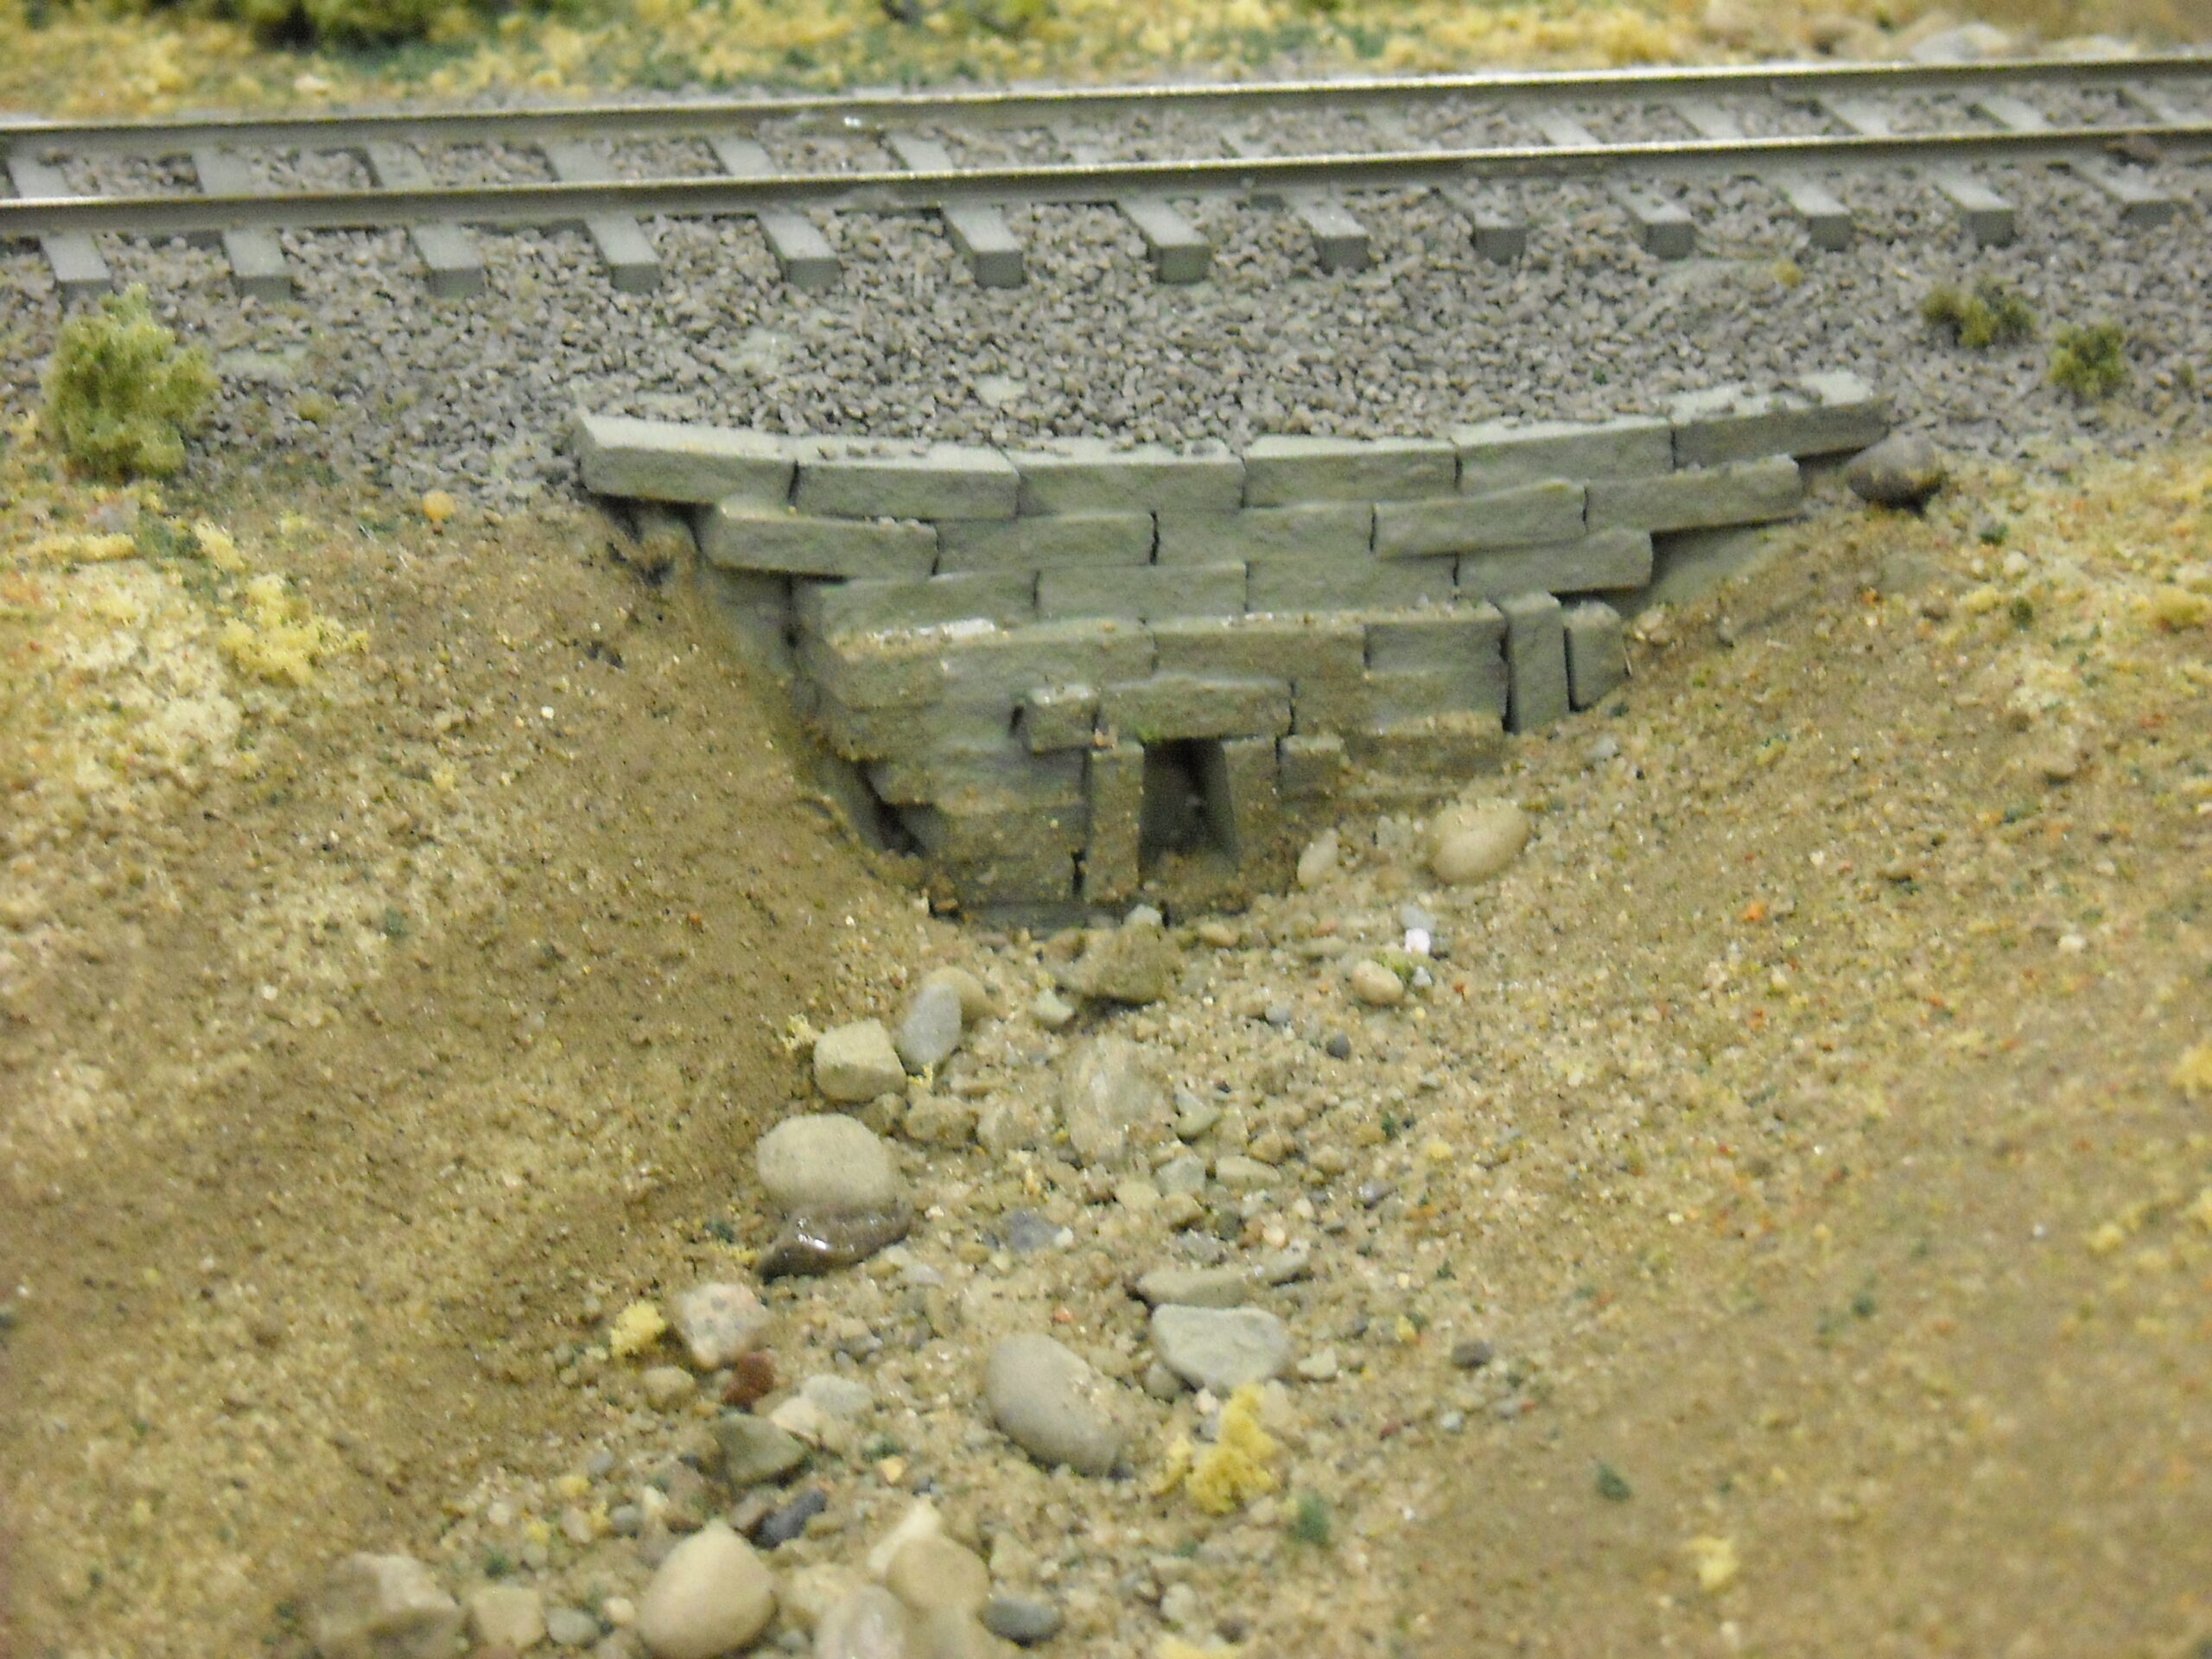
If your layout includes rocky terrain, plaster or hydrocal castings from rubber molds work very well. Paint rocks using thin washes of gray, black, tan, or brown, then dry-brush lighter shades to highlight texture.
Real stones can also be used, but scale is critical. A pebble that looks small in your hand may look enormous next to an N scale figure.
Roads can be modeled using painted foam board, sanded grout, or fine sandpaper. Add weathering with chalks or washes to simulate cracks, oil stains, and wear.
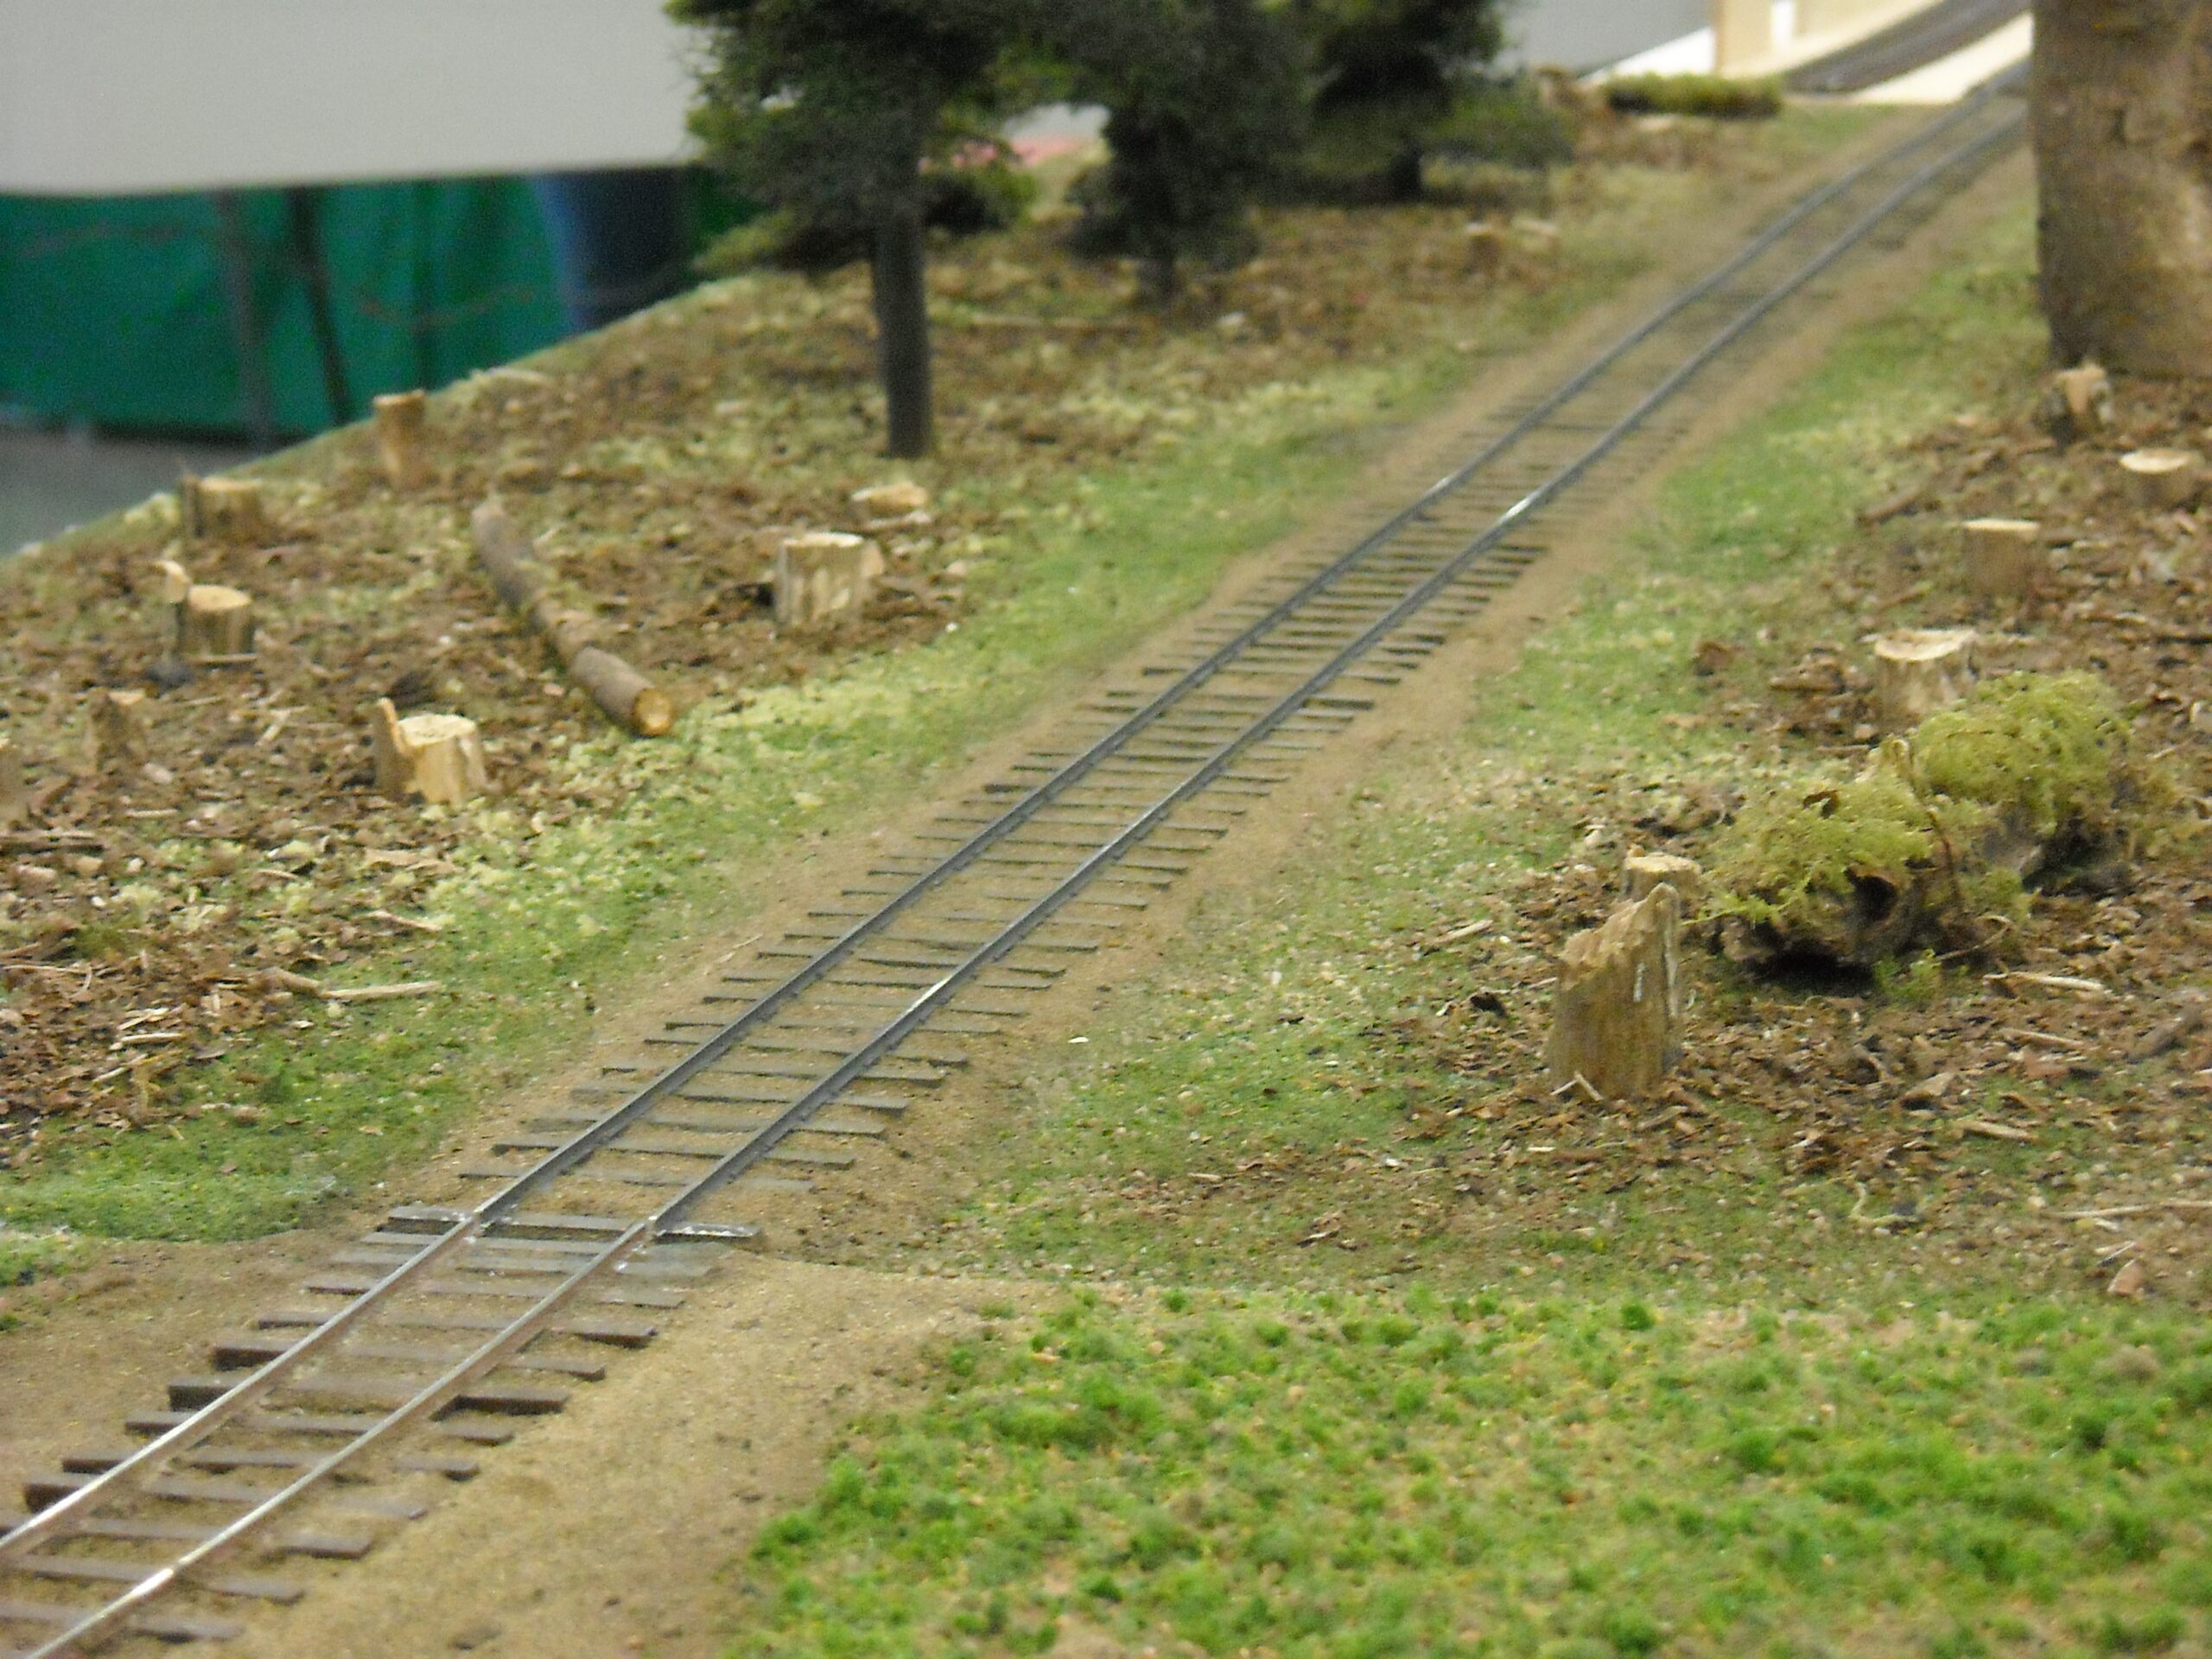
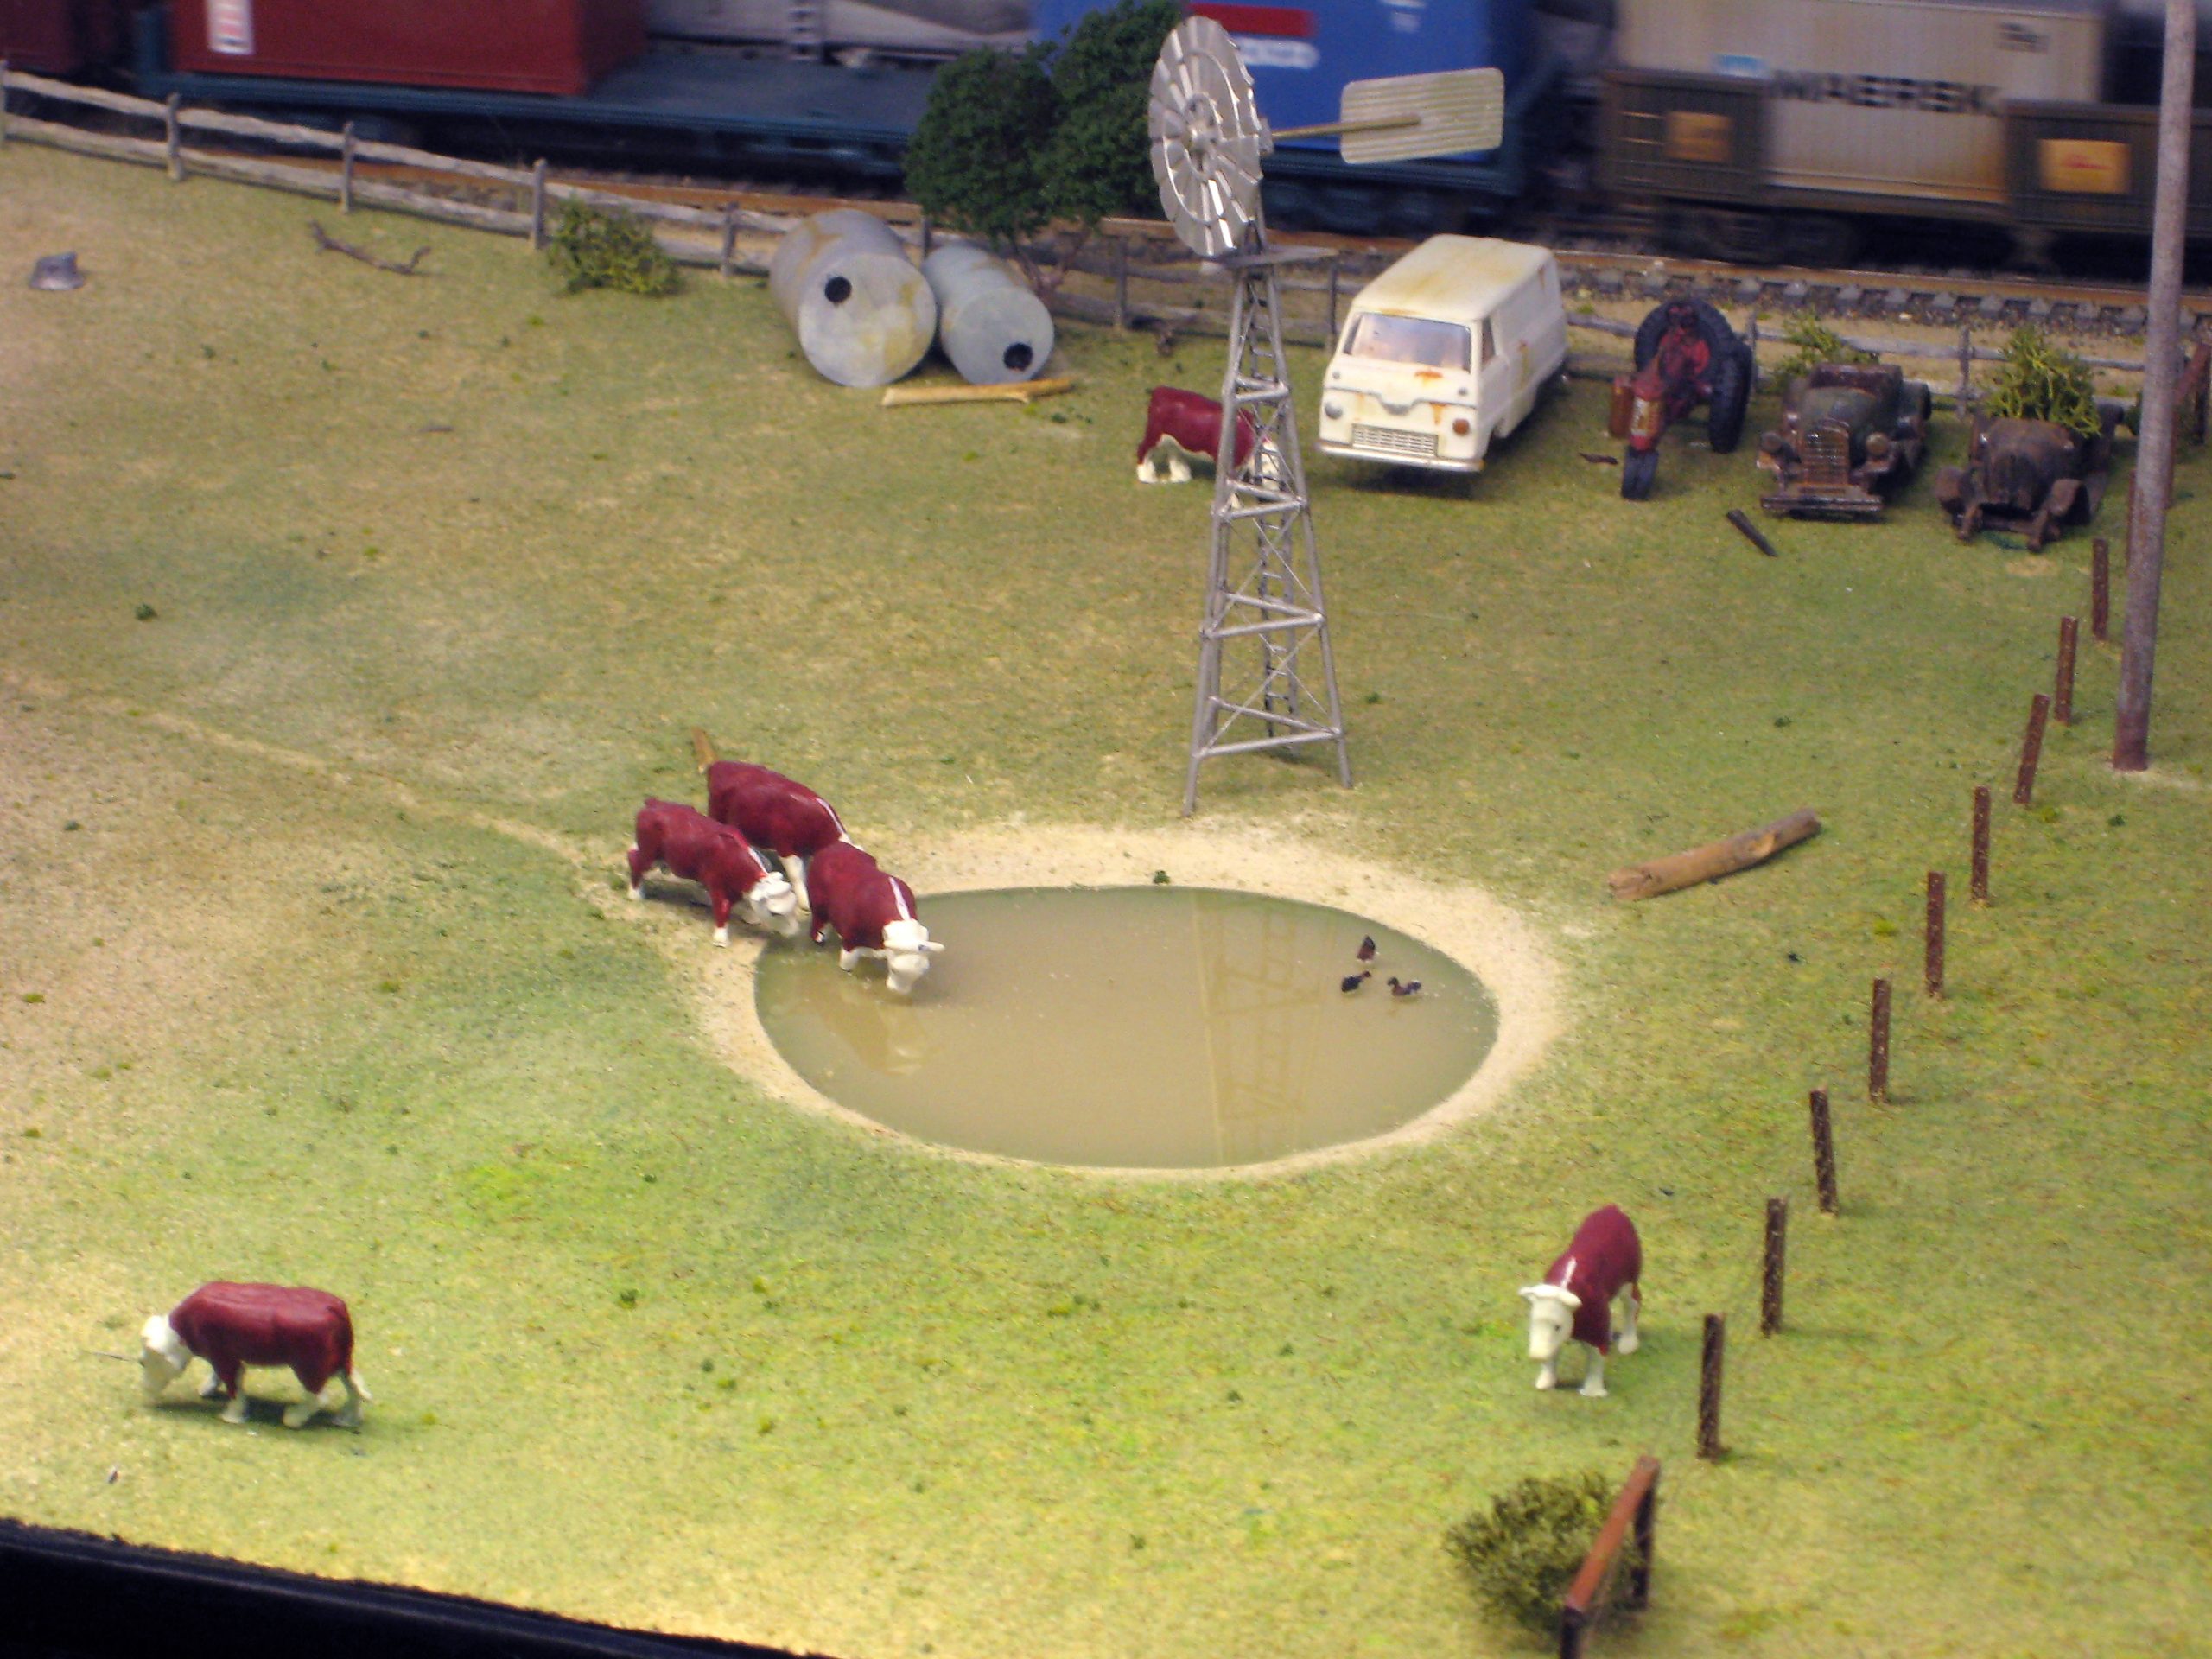
Tracksides are rarely tidy. Add cinders, weeds, spilled ballast, and discarded ties to create a lived-in appearance. Small details such as fences, signs, telegraph poles, junk piles, people, and animals bring scenes to life and help tell a story.
The final step is blending. Use weathering powders or chalks to soften edges and unify colors. A light mist of matte scenic cement locks everything in place.
Step back often and view your layout from different angles. Taking photos can reveal areas that need adjustment. With thoughtful blending, your model railroad scenery will feel natural, balanced, and realistic… just like the real world in miniature.
Colors and Textures: The Key to Realistic Layouts
When it comes to creating a realistic model layout, colors and textures play an essential role in bringing your scene to life. Realism is all about mimicking the colors and textures of the real world. By paying close attention to these details, you can add depth and authenticity to your creations.
Acrylic paints are your best friend in this process. These water-based paints are not only easy to work with but can also be thinned to the perfect consistency for different techniques. The added bonus? Cleaning up is a breeze. Unlike oil paints that require solvents like mineral turpentine, acrylics can be cleaned with plain water, making them much more convenient for brush and airbrush users.
To achieve a truly natural look, experiment with various colors and textures. Play around with different patterns and arrangements to simulate real-world wear and tear, such as weathering effects. This helps make your layout feel like it’s been through the test of time.
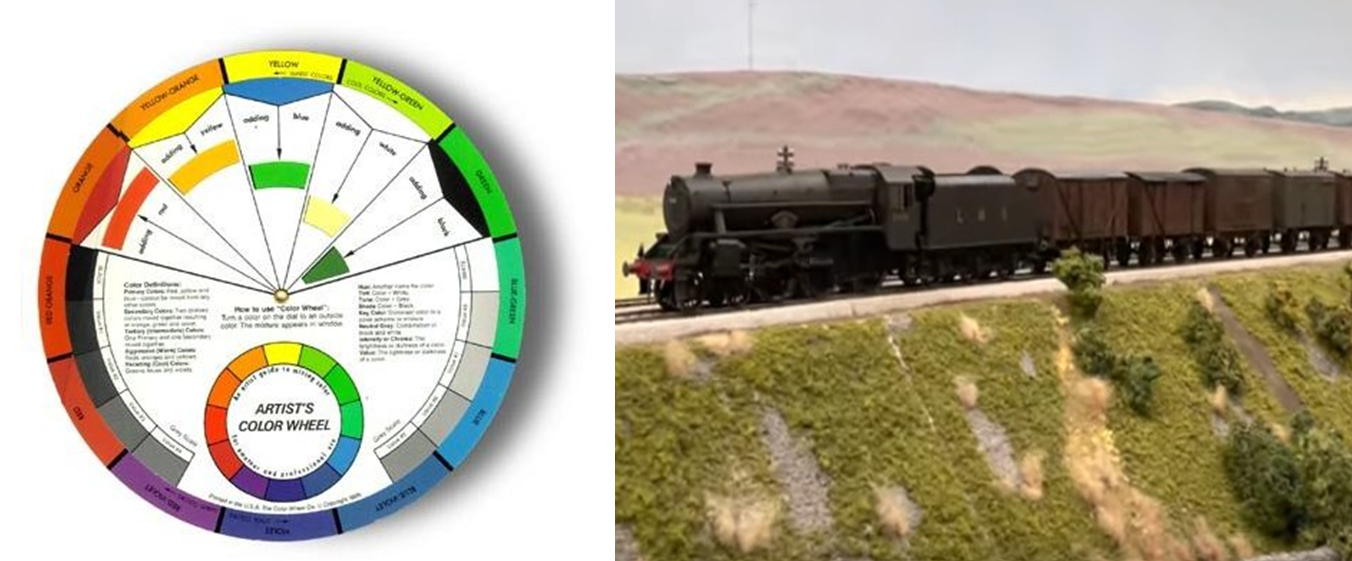
When selecting colors, aim for natural hues that reflect real-world environments. Greens, browns, and grays should be your primary palette, as these shades are commonly found in nature. If you’re working on a winter scene, white can be added for snow effects. White also works well as a base for mixing lighter shades, which is helpful for creating highlights and softer transitions.
Creating a layout that feels like a real miniature world—rather than a toy train set—often comes down to two essential ingredients: color and texture. These elements shape how the eye interprets a scene, and when used well, they can completely change the atmosphere and realism of your railroad..
Whether you’re building rolling hills, desert plains, industrial grime, or lush forest, mastering colors and textures is one of the easiest ways to elevate your layout from “nice” to “wow!”
One of the quickest giveaways of an unrealistic layout is using the same green everywhere. Nature simply doesn’t do that. Grass near a ditch looks different from sun-bleached grass near a road. Young shrubs are bright, fresh green, while older growth looks deeper and more muted.
Try blending a variety of shades:
Sprinkling in touches of tan or brown also gives the illusion of patchy, irregular growth. The result? A landscape that feels alive instead of plastic.
In the real world, nothing is perfectly smooth… not fields, not dirt roads, not forest floors. To recreate that natural roughness, build your scenery using layers of texture.
Start with:
Every pass adds more dimension. Layer by layer, your flat plywood turns into terrain with contour, depth, and life.
? Download the latest Model Buildings catalog FREE here:
https://www.modelbuildings.org ?
Weathering isn’t limited to locomotives and freight cars. Trackside structures, roads, bridges, and even the ground around them all show signs of age.
A few ideas:
A little grime goes a long way. When everything blends with age, the whole scene becomes more cohesive and convincing.
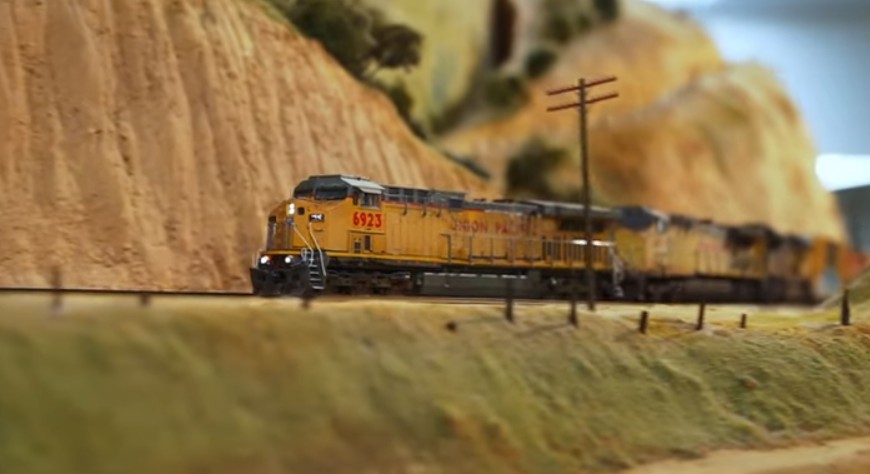
Real terrain rarely features bright, saturated color. Instead, it’s dominated by earth tones… soft browns, sandy tans, muted greens, stone grays.
Use these tones as your foundation. Then add brighter pops of color only where needed:
When flashy colors are used thoughtfully, they draw attention without overwhelming the scene.
Not all textures are interchangeable. Gravel should look like gravel. Dirt roads should feel dusty and worn. Rocky cuts should feel sharp and irregular.
Try these texturing ideas:
When each type of terrain has its own distinct surface, the viewer’s eye recognizes it immediately… boosting realism without explanation.
One of the simplest ways to improve your scenery is to observe the real thing. Spend a few minutes photographing roadside grass, the color of gravel, or the way dirt collects at the base of fences.
Look closely at:
You’ll start noticing details you never thought to include before, and those details will set your layout apart.
Create Scenes That Feel Alive
Your model railroad doesn’t need to be flawless to be believable… it just needs to capture the essence of the real world. With thoughtful use of color variation, textured layering, and a bit of natural inspiration, you can create scenery that feels rich, organic, and truly immersive. Let your imagination and the real outdoors guide you, and watch your miniature world come alive.


