Everything on model trains, model railroads, model railways, locomotives, model train layouts, scenery, wiring, DCC and more. Enjoy the world's best hobby... model railroading!
Arduino Coding for a Turntable
Tony models OO and asks:
“Does anyone have a simple Arduino coding for a turntable? I’ve made a simple 3d printed turntable for the model railway I’m building for my grandson and want to control it from an Arduino. It’s a simple one-on one-off system. I intend to use a Hall Effect sensor to align it with the tracks. Ta in advance for your help.”
Add your comments or code to assist Tony below.
Soldering Rails or Rail Joiners?
Darren models HO and asks:
“I’m using sectional track and about to start soldering some rail joiners and installing feeder wires. Should I solder my feeder wires to rail joiners, or directly to the rails?”
Best Sound Reducing Roadbed
Samuel asks:
“I’m not keen on using nails so thought cork or foam would be easy to glue in place. I also want to suppress the noise as much as I can. Which material would be best?”
Add your comment below, or submit your own question for publication by using the separate link below.
The Optimal Model Train Consist
Trevor asks:
“I think I’ve got it right putting my heavy or larger cars at the front of the train and positioning the other cars behind with the lightest cars closest to the caboose? I have both diesels at the front facing the same direction nose to tail, or should I runs my diesels tail to tail? What’s right or is it just a preference thing?”
You can submit your own question for publication – see the link below.
Coming Soon! An exciting new series of derelict scale model background buildings
In a few days, two new series of scale model background buildings will be available for download. The series shown here features several abandoned industrial buildings, and the other series includes some factories and workshops. The plans can be downloaded and built to OO, HO, or N scale and are some of the most realistic-looking models ever released.

DCC Locomotives Operated On DC
George asks:
“Could a DCC engine be damaged if run on a DC system?”
Add your comment below.
2-8-8-4 HO Steam Engine
Rob B asks:
“I have an HO 2-8-8-4 Yellowstone steam engine since about 1950. It is basically a brass engine with a wood boiler. I would like to know the origin and manufacture. Thanks.”
Running Model Trains After Hurricane Ida Flood
Gary was impacted by Hurricane Ida and asks:
“We had IDA dump 10” in our basement. None of my O scale train equipment was damaged. My question is, the track. I had kept a 50-55 degree humidity. It has come down to good numbers. I’m worried about the track surface. What should I do and/or use.”
Using NCE Switch-Kat and Kato 4ch Turnout Controller
Ivan asks:
“My HO track and turnouts are Bachmann. Can I use the Switch Kat and Kato 4ch controller? The Bachmann turnout has 3 wires, whereas Kato turnouts have two? How would you wire that so that it would work?”
Kadee 50-footer Boxcar Coupler
Garry posted:
“One of my Kadee 50 footers has a bent coupler I need to fix but I’m not sure how to remove the coupler cover without damaging it. I guess they are not designed to be fixed?”
Send in your question to be published con the blog. Use the ASK A QUESTION link.
Dirty Stuff On Rails
Kev writes:
“I’ve only been running my trains for a short time and already there is black stuff building up on the rails. If I don’t clean it away my engine loses some power. I don’t think it’s grease, oil, or the paint I used on the ties and rails which I shined with bright boy. What is it and the cause, and how can I prevent it from coming back? Do others have this problem?”
Post your comments below, or have your own question published by using the ASK A QUESTION link.
Bentley Model Railway Group Trainwest Model Railway Exhibition
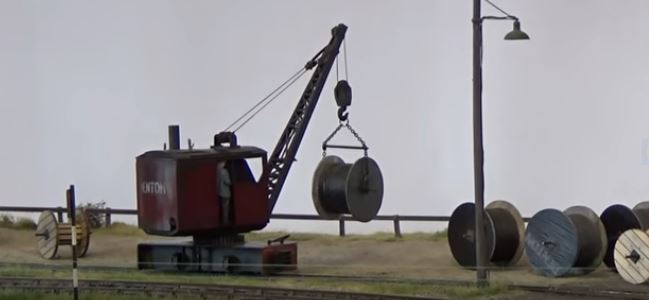
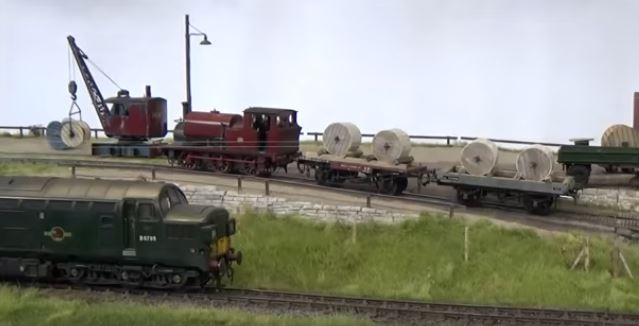
Don sent in these photos to share from the Bentley Model Railway Group Trainwest Model Railway Exhibition in the United Kingdom West Country which he attended in 2019.
Cork Track Base
Jeff asks readers:
“I have an old HO scale setup on a 4’x6’ sheet of plywood. The old track is on a raised cork bed. The train barely moves on the track. After applying several cleaning methods, unsuccessfully, I’m told I need some new track. I would like to purchase new updated tracking but am unfamiliar with it. Most importantly will it fit on my previously installed cork bed. Any help to get me started would be greatly appreciated.”
Add your comments to assist Jeff below.
Numbers on Crossovers
Hank models HO and asks:
“What do the numbers on the cross over (for example #4) means, and when or where do you use number #4, #5, or #6 cross over?
Add your answer below.
Decoders and Speakers
Palitha asks:
Can someone kindly recommend DCC decoders and speakers for the following DC engines
1, DENVER & RIO GRANDE GP40 Diesel Locomotive Atlas #7038 HO
2,H0 Fleischmann 1156 Dampflok Baureihe 56 DB, AC, OVP
Track Voltage Loss
Neil models HO and asks:
“My loco drops 2 volts and slows the further away it gets from my power terminal track. Do I need 2 power terminal tracks positioned at opposite ends of my 9 foot track? Can someone clarify please?”
Get your question published on the blog too. See the link below.
NEW! Plans For 11 Scale Model 3D Shops Now Available To Download… Photo-Realistic!
CLICK THE VIDEO BELOW TO WATCH THE 2 Minute DEMO.
PDF plans for series #1 and series #2 are now available for download at https://www.modelbuildings.org/oo-n-ho-scale-3d-shopping-center-for-railroads
Code 100 Track Question
Beginner to the hobby Orjan asks:
“Sorry for my ignorance but in simple terms what does code 100 mean? If I go with code 100 would I always need to use the same track code?”
You can send in your own question for publication by using the ASK A QUESTION link below.


