
Everything on model trains, model railroads, model railways, locomotives, model train layouts, scenery, wiring, DCC and more. Enjoy the world's best hobby... model railroading!

Club member Angelo sent in these tips to share:
Anything with moving parts can experience problems from time to time, and locomotives are no different. To ensure smooth reliable running they need some care and attention. Here are 4 common problems and common causes:
Here are some more things to check:
Watch and observe (keep a record) of how the engine operates in both directions and at different speeds. Listen carefully to the engine sound (noise). You might discover the loco runs better in one direction and no so well in the other direction. It may also be noisier in one direction than the other. Also, check for any slack around the thrust washers. The wheel treads should be clean.
The wheelsets might have a coating that won’t conduct electricity. One option is to put the wheelset into an expandable truck frame and then burnish the wheels using a brass brush attached to a Dremel motor tool. You might already use a rotary brass brush for cleaning solder from your nickel silver frogs so this is another use. You can also buy packs of 3 brass brushes (they look a bit like toothbrushes) from Discount Stores for about $5. A Dremel brush can be used when the engine is running while resting on its back. Those with DC could use a Kadee wire brush. Alcohol (70% isopropyl alcohol) is an effective cleaner.
If you notice the locomotive movement is somewhat “jerky”, it could be caused by a tight part or by poor electrical contact. A diesel engine might not have enough play in the drive train, or if it’s a steam engine it might have binding in the siderods.
Also inspect the wipers. On some locomotives you’ll need to check the seating between trucks and chassis. Electrical pickup will rely on the mechanical connection at this point. Another piece of maintenance is to polish around the “king pin” where the truck swivels, and on any contact surfaces.
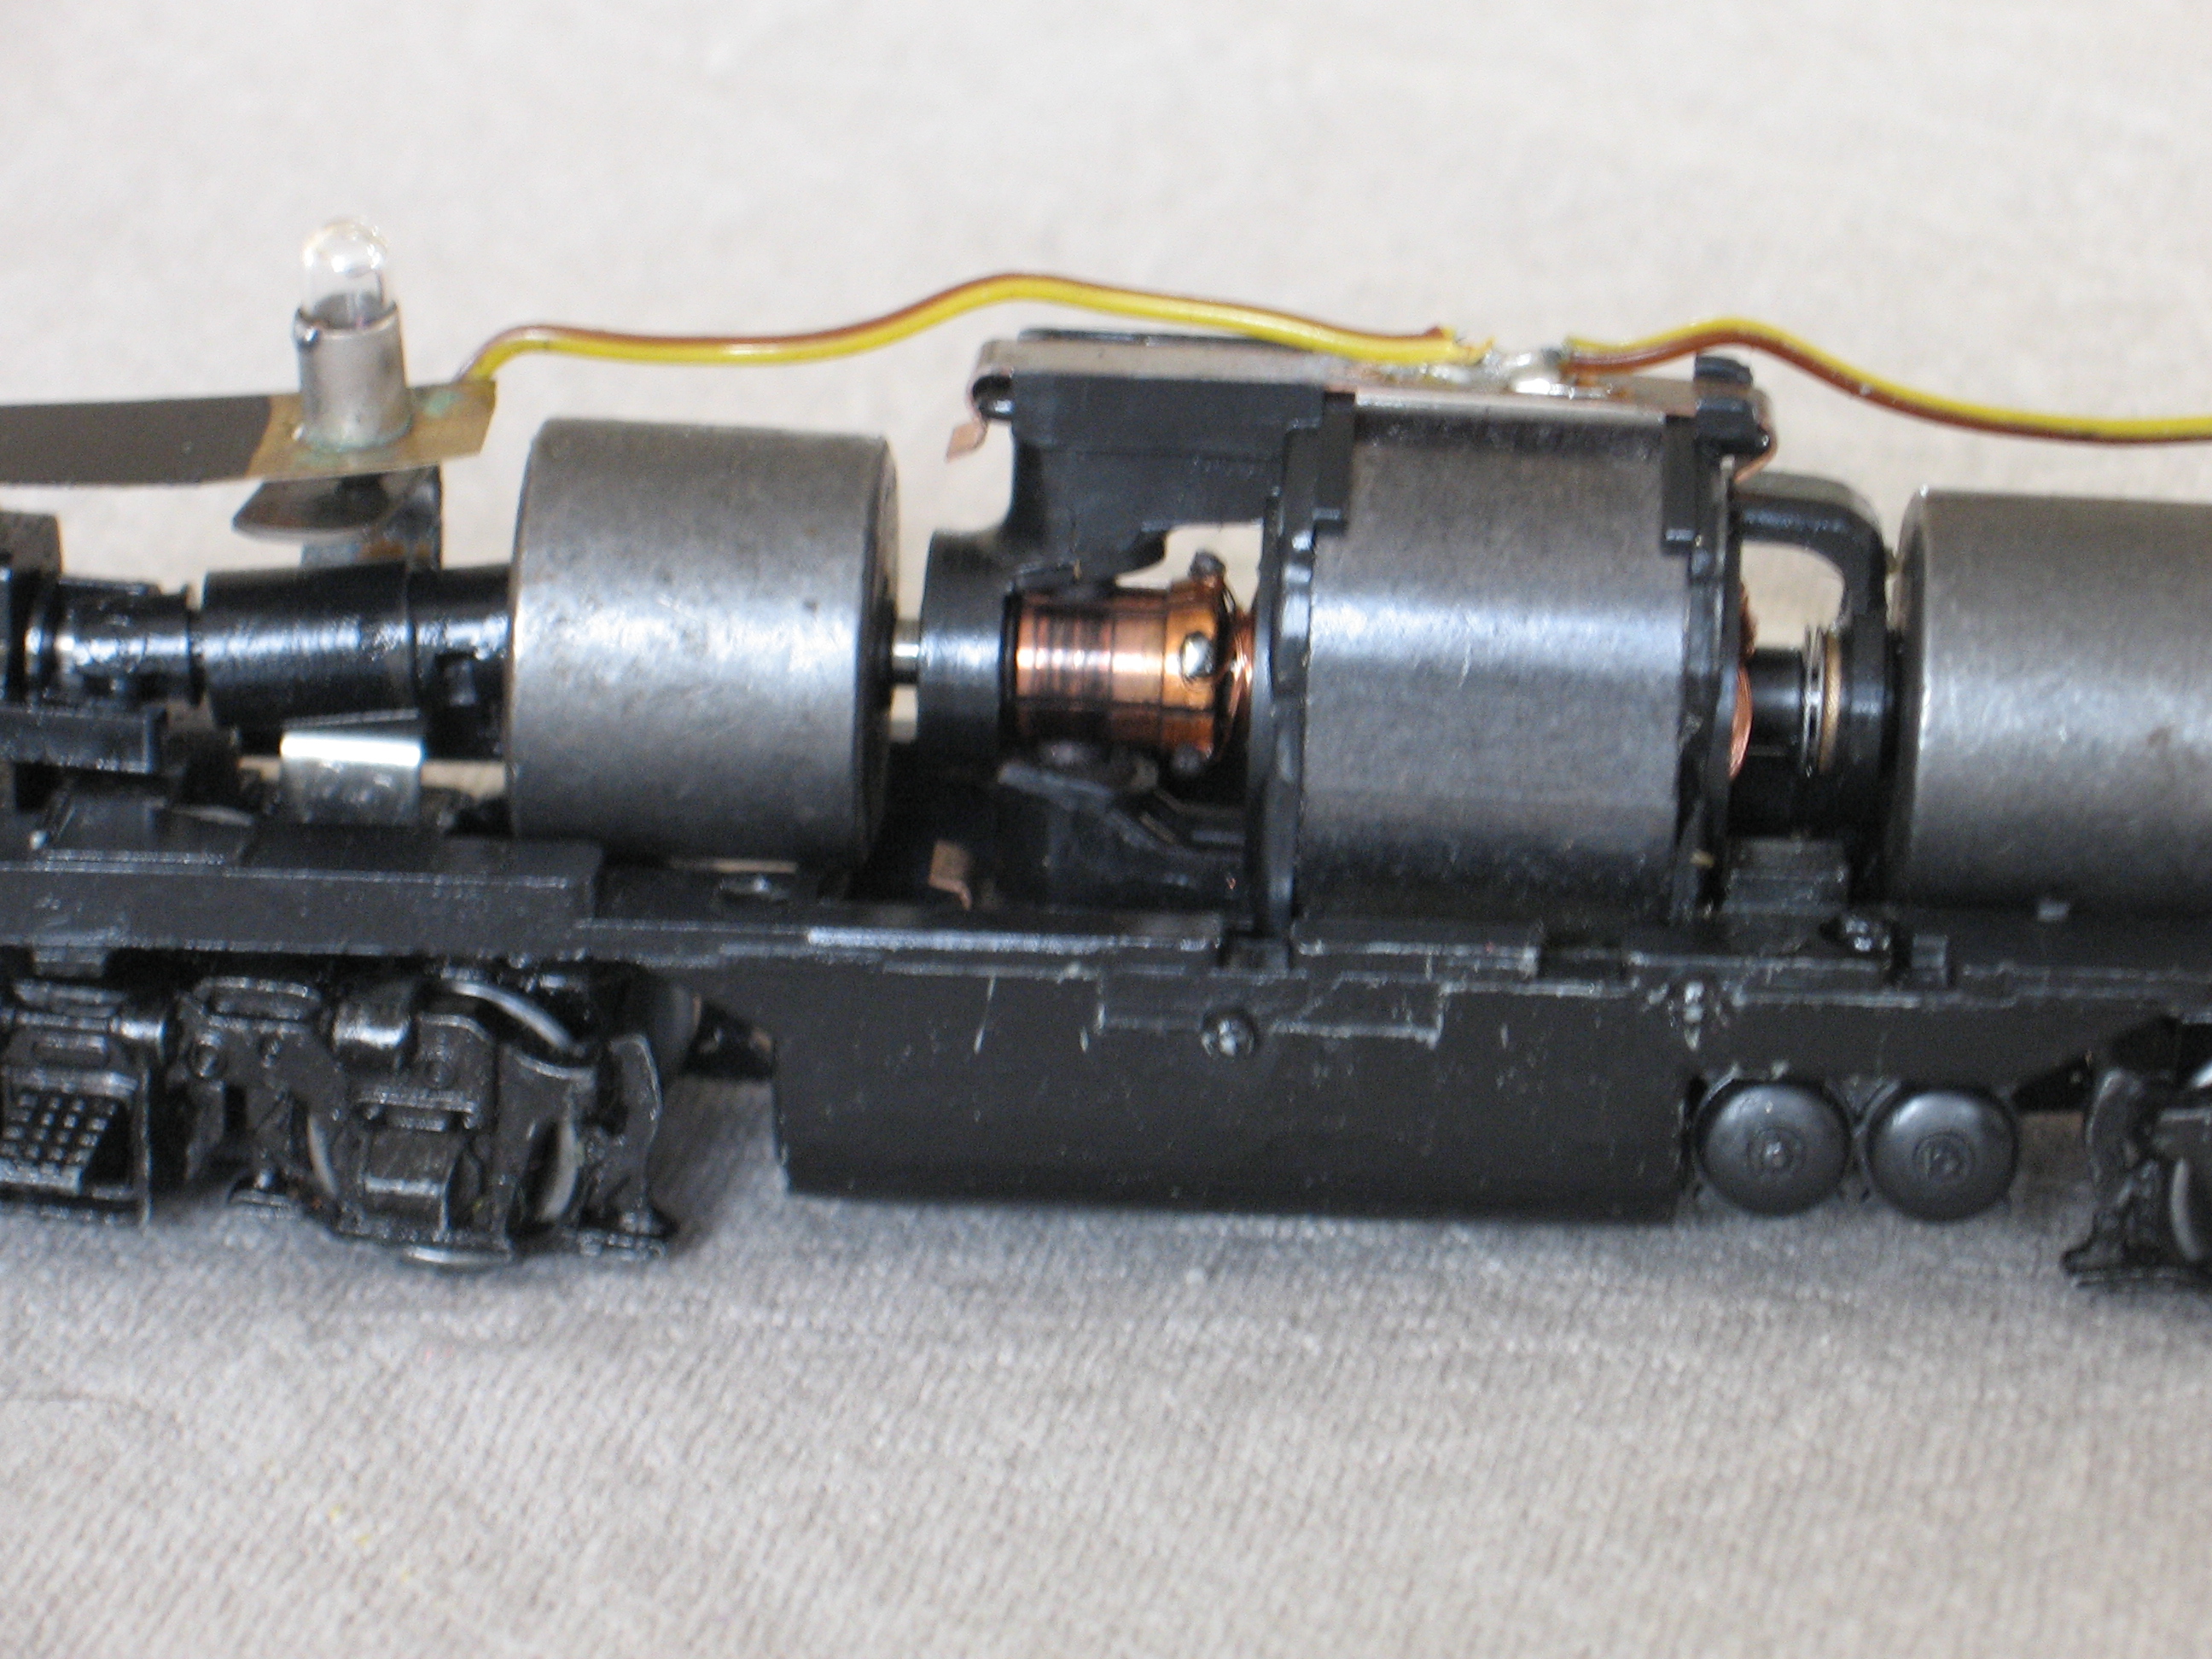 Smoke could simply be a sign of too much grease/oil, or it the motor overheating. This could be result of parts being too tight, or be an indicator to other problems. To check if it’s the motor, firstly remove the couplings to run a test on the motor free of any connections. Listen out for any clicking from the drive train. Sometimes a tiny particle of flash can get on a gear. You might need a microscope to see it, but it can settle at the bottom of the valley between the teeth. Use a pick or small file to remove any flash. Another possible cause could be a tiny speck of metallic ballast that has been picked up. Commercial ballast should have no magnetic debris in it, but real dirt could have some iron in it.
If you notice the speed is inconsistent it could be caused by a faulty “u” joint or loose tubing if it was used for coupling to the driveshaft.
Add your comments and share this posting with friends.
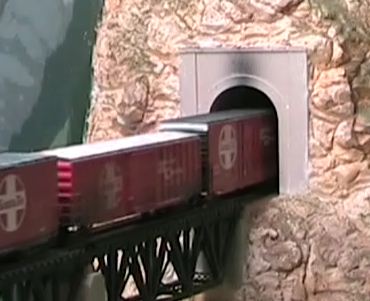
 A classification yard can be a hive of activity with trains arriving, departing, getting sorted throughout the day (and night). Depending on the yard type, size, and location; the arrival and departure schedule might include trains hauling bulk cargo, intermodal containers, refrigerated cargo, liquids, machinery, chemicals, fuels, vehicles, and/or plenty of general freight. Some consignments are easy to spot such as vehicles, but other cargo’s are less obvious without a closer look inside the wagons and cars.
Interesting Facts
Freight trains servicing an agricultural region could be transporting anything from soybeans, corn, wheat, fertilizers, chemicals, animal feed to even a new tractor or two. As an example; in 2012, the largest US railroads transported 1.4 million cars laden with grain. That was a staggering 4.9 % of the total cars hauled. Freight railroads in the US transport more corn than any other grain, although shipments of wheat are not far behind, followed by cargos of soybeans, and smaller cargos of oats, barley, rice, sorghum, rye, and other grains.
Other trains could be hauling processed or prepared foods such as canned produce, distiller grains, flour, soybean oil, frozen foods, or even corn syrup. In all, 2012 saw 2.1 million carloads of grains and grain food products hauled on major railroads in the US (7.5% of all carloads).
Much of the grain originated in South and North Dakota, Illinois, Kansas, Nebraska, and Minnesota. Most was destined for Washington, California, and Texas. The USA is a huge exporter of grain along with other countries including Australia, Brazil and Argentina.
The economics and practices of rail freight companies vary by region and country.
As export and domestic local markets have evolved, most railroads have improved their efficiency with shuttle trains and by changing the length of haulage. Since 1994, grain transportation has seen a change from smaller shipment sizes to larger “shuttle size” shipments of seventy five or more rail cars. This has lowered the costs and increased the number of local destinations that could unload shuttle size shipments. Altering the length of each haul has made the industry more competitive with road trucking companies.
 Rail yard buildings available from modelbuildings.org/low-relief-buildings-F.html
Fortunately there is still a place for rail transport in this modern world, and when operated efficiently railroads can compete effectively for the haulage of bulk cargoes over long distance.
Types of Rail Cars Use to Haul Freight
 I’ve already mentioned some of the freight types carried by rail transport, but what about the various types of cars likely to be spotted in a rail yard.
Boxcars (also known as goods vans) will be one of the most common car in rail yards as they typically transport palleted or crated freight of varying sorts. In earlier days they were a common way to transport livestock, but ventilation was considered a problem. Boxcars have side doors for easy access by a forklift; some have end doors and even have adjustable bulkheads. They vary in size and features. Refrigerated boxcars feature temperature controls for perishable freight including vegetables, fresh fruit, frozen foods and more.
Covered hoppers freight shipments of loose dry bulk products. The hoppers can be loaded at the top and on arrival at the destination the product is then discharged at the bottom. Open top hoppers freight heavy bulk commodities that won’t be damaged by exposure to the weather.
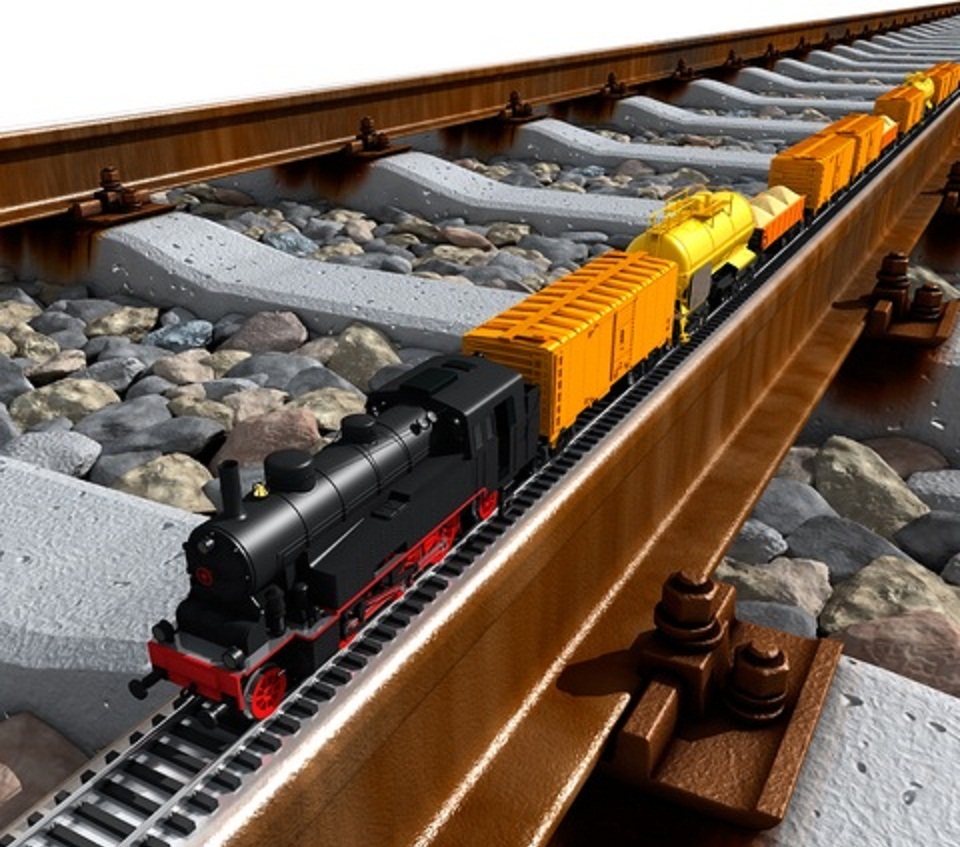
Flatcars generally transport cargoes that are not easily damaged by wind, rain, or snow. They vary in length, and tonnage capacity, and are common in rail yards. Gondolas ship bulky commodities such as aggregates, scrap metal, lumber and logs.
Tank cars often don’t belong to the railroad that is transporting them. They are usually owned by the company that manufactures or distributes the products stored inside them. Some tank cars are pressurized and others are not. They typically transport liquid or gases.
Coil Cars transport steel plate, coiled steel, or even high grade ores. Center beams are used to move bundled building supplies and typically feature a center partition where the products are secured in position.
Automotive racks (Auto Racks) ship vehicles both imported and domestically produced. The vehicles are not always visible (depending on the auto rack design), but they ship anything from automobiles, to trucks, to tractors, to mini vans, and SUVs.
Although that’s not the complete list of cars you could potentially see moving or parked in a rail yard, it does include most of the main car types. I guess what I am leading to is; a rail yard can be a fascinating inclusion to any model railroad. There’s usually plenty of activity with trains arriving and departing. Little switcher engines hustle around shunting and sorting cars into a new consist ready for departure to the next destination.
 Warehouse buildings available from http://www.modelbuildings.org/low-relief-buildings-F.html
To add realism to a rail yard scene you need to include some related industries or warehouses nearby. However this needs to be done without taking up a lot of track space, otherwise the yard becomes cramped. Including an engine shed, or if you have space a roundhouse or turntable, will add to the scene. One solution is to position a series of buildings behind a rail yard to represent storage warehouses, factories, or freight forwarding companies that are likely to be located near a rail yard. These can be made as low relief structures or as flats with just the frontages visible.
Contribute your comments to this post.
If you enjoyed reading this article please share it with friends.
Club member Malcolm R sent in this tip to share:
 There are various methods for connecting wires ranging from suitcase connectors that pinch into the wire, to the popular screw-type terminal strips. Some hobbyists prefer using spade lugs. If you don’t have any spade lugs you can put a little solder onto the end of the stranded wire and bend it to form a “J” shape to install on the terminal.
If your intention is to use multiple connector wire, then stagger the splices. This will to help prevent short circuits by keeping the wires visually apart. You can use electrical tape, heat shrink tubing, or some liquid electrical tape (get it from an automotive store – there are several brands available). Liquid electrical tape can be messy to use but works well. It will drip and take time to harden, so care is needed. Some brands come with a brush, but you might prefer to use a toothpick for applying it in delicate places. Seal the can securely between uses as it will dry out if air gets in.
Add your reply to Malcolm’s post.
Walter J sent in his tip to share:
 “I don’t lubricate my trains with heavy oils as it can leave too much of waste between gears and wheels, which will do more harm than good. You can use a thin oil but D-40 is too thin to provide proper lubrication for the wheels. I use sewing machine oil but if you are looking for a branded lubricant, consider buying Labelle model train oil as it is one of the best you get in the market. That’s my opinion anyway. What do others think?”
Add your reply to Walter’s post.
This short demo shows step by step how to make a model railroad building suitable as a farm barn building or as a factory warehouse. Enjoy!
http://www.modelbuildings.org/Factory-Farm-Building-B443.html
The yardmaster’s job in a model railroad is to organize the cars according to the destinations to which they are headed. Once that is done, the yardmaster then has to come up with the order in which the trains have to be sent out. Once that is done, the trains are lined on the departing track. The yardmaster then has to wait for clearance from the dispatcher. Following the clearance from the dispatcher, the train heads towards its destination. Since a regular 24 hour session is compressed to usually a maximum of 4 hours for an operating session, the trains must be on schedule.
Model railroading can be a bit of a juggling act especially if you are limited for space as most of us are. Every inch of space is particularly important on an industrial switching shelf layout, many of which are only 18 inches to 2 foot in depth. Maximizing the space can usually be achieved with careful selection and placement of appropriate buildings, structures and scenery.

Although the plan on the left might look okay, there are better space saving solutions. Read the full article.
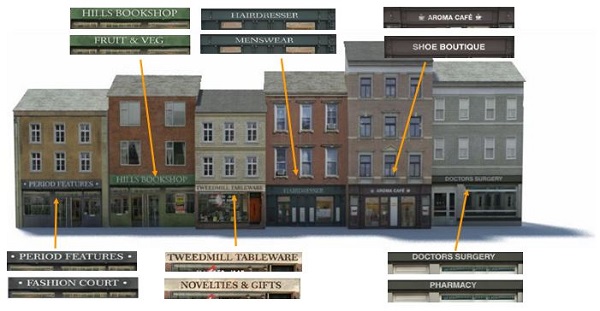
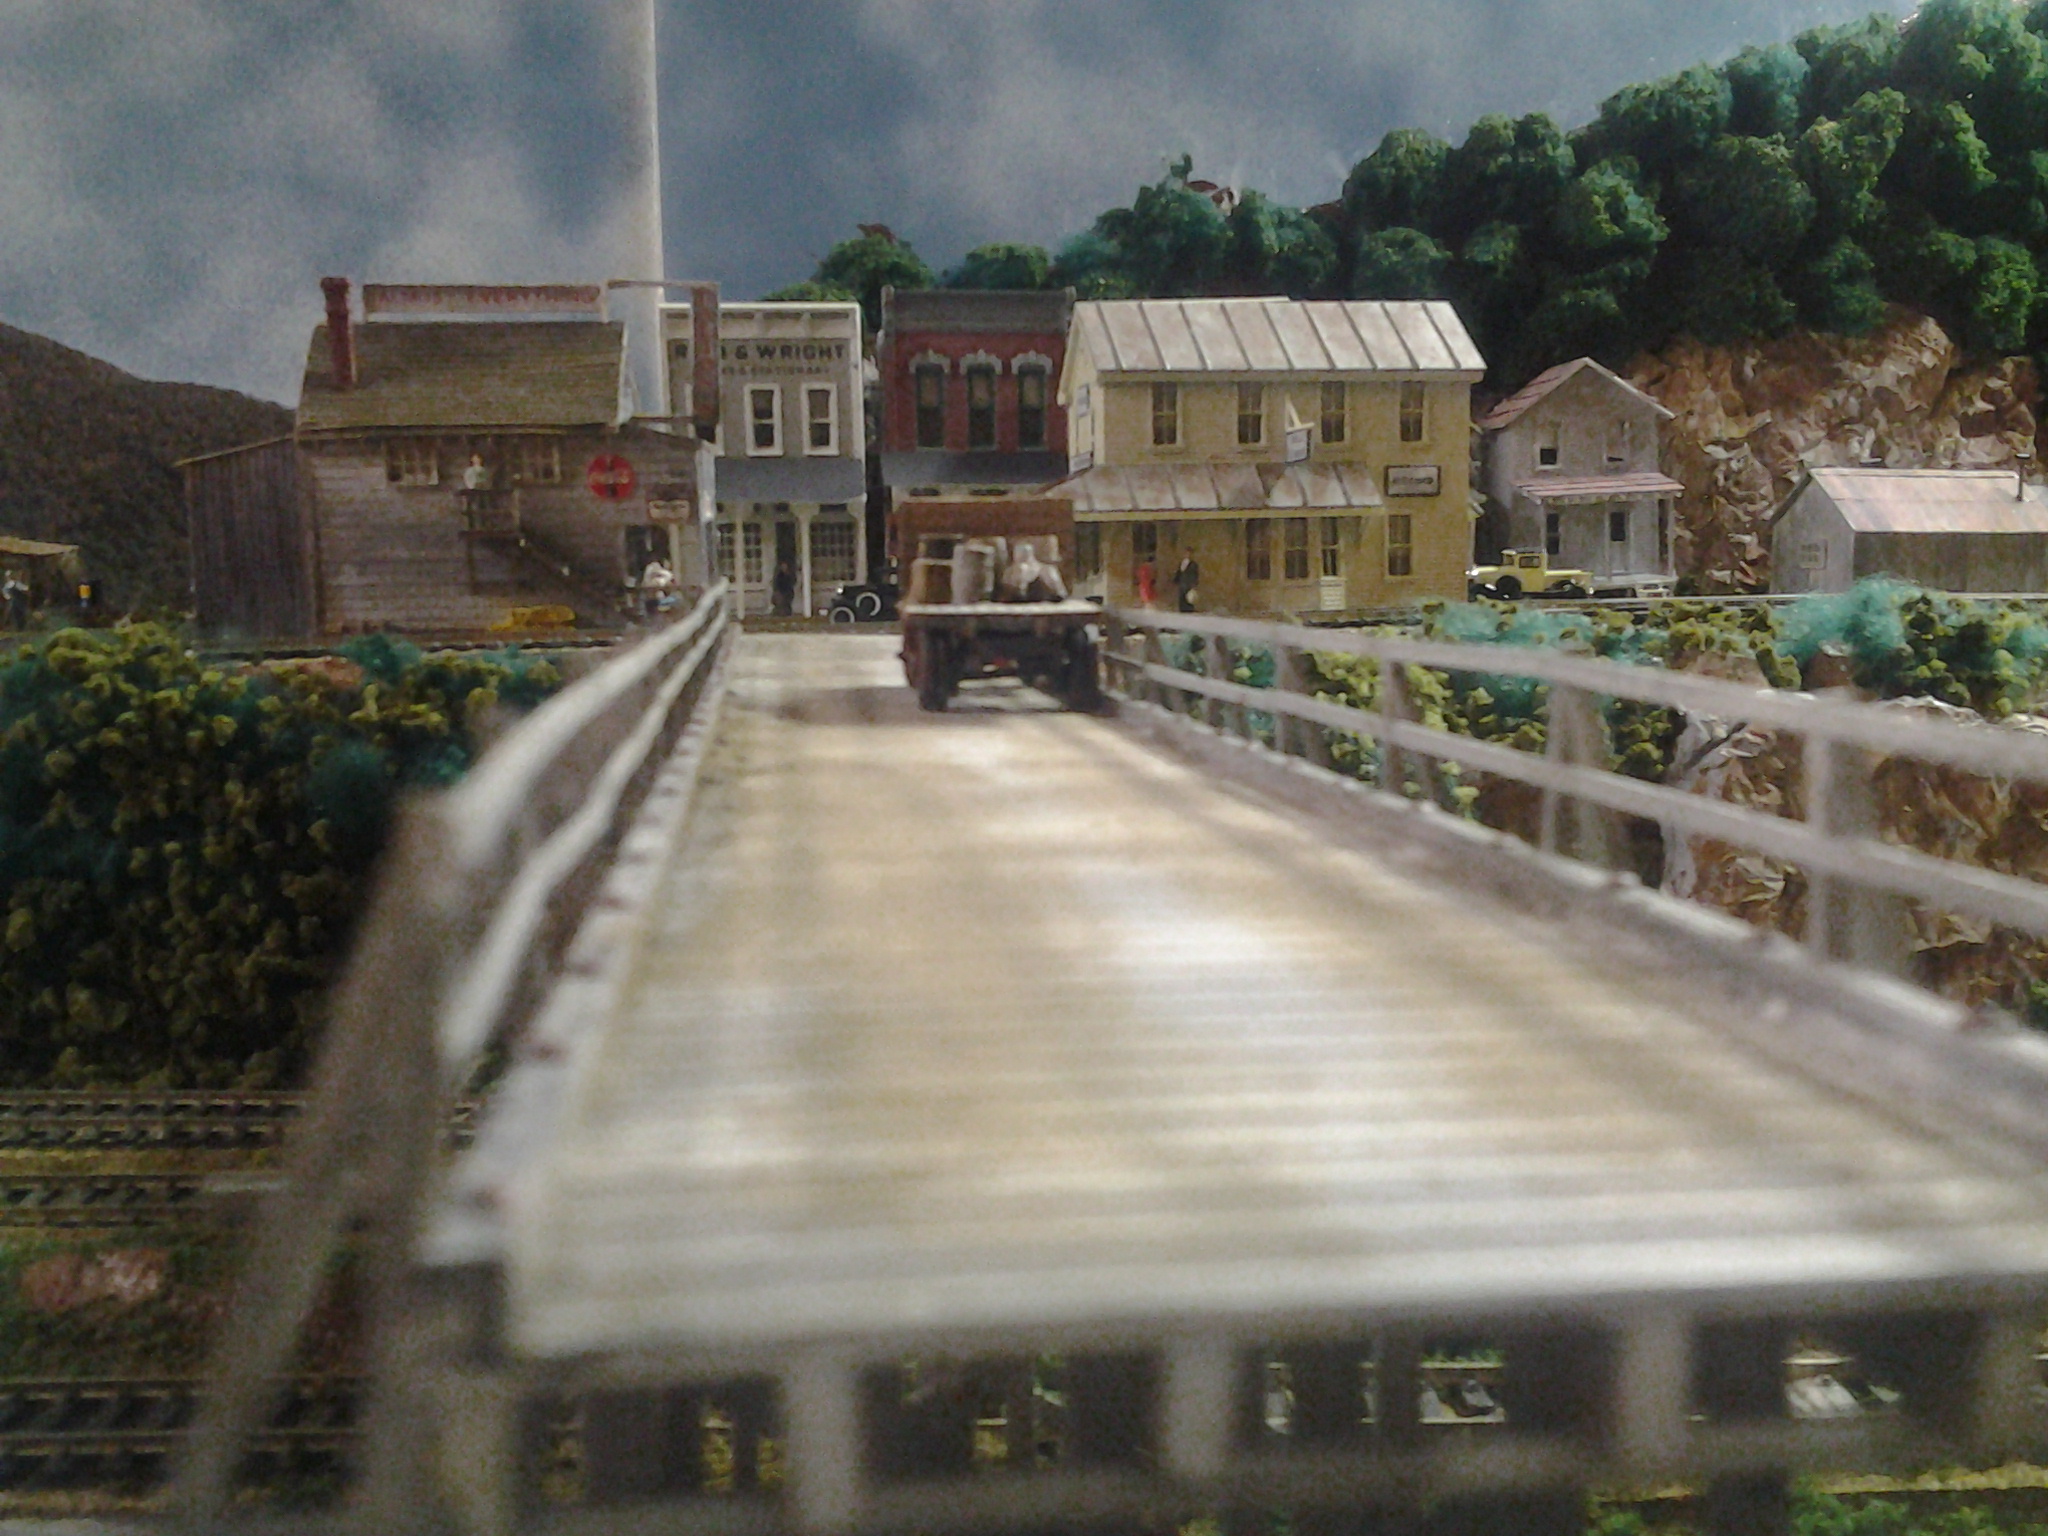
Most model railroads try to reflect real life whether it is a present day scene or a moment in time from the 1970’s, 1960’s, 1950’s or even earlier. Regardless of what era is being modeled, the people of the time needed places to live and shop. That’s why a street scene with people and vehicles rarely looks out of place on a model railroad layout. Trouble is; street scenes can take up a lot of space unless they are positioned against a backdrop, or at the edge of the layout. Putting them against a backdrop is often a great option as it allows more space for other scenery or track and gives the impression the scenery stretches further than is does. Below is a new series of 7 low relief houses that are perfect for placement against a backdrop.
 http://www.modelbuildings.org/low-relief-buildings-D.html
Another new series is this set of 6 shops with upstairs accommodation. These shops come with 12 different shop signs so you can change the signage to suit your railroad.
 http://www.modelbuildings.org/low-relief-buildings-E.html
These buildings are easy to download and construct using foam core sheets or core flute (both are cheap to buy in big sheets at a DIY store). The downloadable plans come with easy to follow instructions. The website includes a special ZOOM tool so you can see the fine detailing closeup.
Club member Russell sent in this tip to share:
 Light the indicators in the track can be a handy way of knowing which way a turnout gets thrown. You can buy tiny LEDs that are small enough to be unobtrusive, but can still be easily seen. If you think this looks unprototypical (with LEDs in the track), you could install them on your bench work fascia, next to the turnout, or perhaps in a building, or even have them as lights on a pole that respond when the turnout gets thrown.
The LEDs can be positioned between the track rails after both rails and the frog are gapped beyond that point. Small tubes can be used to carry the wiring from the LED up through the foam sub-roadbed. A small blob of Walthers Goo will keep them in position to avoid interference with couplers or other parts on the trains passing above them.
You could use this with electrically powered turnouts, which would save installing relays, or needing a second set of contacts. Some operators find manually controlled double slip switches confusing, so this could be helpful with that too.
For DCC help and advice http://www.dccmodeltrains.org
This quick video demonstrates how easy it is to construct an industrial warehouse building in low relief.
There is no need to paint or weather the building as that is already done for you, so that’s a saving in time and money.
The plan can be downloaded at http://www.modelbuildings.org/Low-Relief-Buildings-B.html where you can see a close image of the fine detailing.
The building can also be purchased as part of a BIG BUNDLE deal at http://www.modelbuildings.org/big-bundle-deal-2.html (SAVING 66% off the regular price).
If you have a photo of this, or one of the other model buildings in the series, positioned on your layout then we would love to publish it to show others. Send details and your email address using this link http://www.model-railroad-resources.com/train-tips.html
 Club member Alex sent in these tips to share:
Model trains are weathered to give them a realistic look. Follow the tips below to get the best results.
For more scenery and weathering tips http://www.modelrailwayscenery.org/model-railroad-scenery.html
 Freight trains are used for the transportation of raw materials and goods. Through freights travel through many yards but stop and unload at their final destination. It acts as an ‘Express’ service. The crew however, can be changed at any point along the route. Coal, vehicle parts and steel are transported in this way.
Through freights are based on simple switching. The yard master decides the on-scheduled trains on a switch list. Carriages are made to wait in their own designated task yards. The crew yard has to assemble all cars in the departure track according to the schedule given by the station master.
346 people voted in our recent poll which asked: Did you make any new years resolutions, or set goals for the coming year relating to model railroading?
The results were as follows:
–> YES – I decided to finish a project I started (16%, 56 Votes)
–> YES – I decided to start a new project (9%, 32 Votes)
–> YES – I decided to fix a problem that has been annoying me (7%, 24 Votes)
–> YES – I decided to increase my general knowledge of the hobby (6%, 22 Votes)
–> YES – I decided to expand my layout (6%, 21 Votes)
–> Yes – I decided to increase my understanding of DCC (6%, 20 Votes)
–> YES – I decided to buy new trains, structures, or accessories (5%, 18 Votes)
–> YES – I decided to clean my layout (4%, 13 Votes)
–> No – I made no specific resolutions relating to the hobby (32%, 109 Votes)
–> Unfortunately I don’t have a layout yet (9%, 31 Votes)
This impressive photo was kindly supplied by Ron.
Carl sent in this tip to share:
Just before I talk about how I make roads for my layout I want to mention Bragdon weathering chalks which I use to simulate oil stains and car tire marks. I use soot black and grimy black colors. I like Bragdon chalks because they stick to most surfaces, are self-sealing (no drying, or curing is required), and you only need to use a little. They also come in a good range of colors. Rub them on the surface and they release a bonding substance so the chalk won’t come off the model and get all-over your fingers. The trick to using chalks is to build up the effect slowly.
Now, back to the road construction:
–> I use Hydrocal for most of my road surfaces
–> I wait until the Hydrocal road is almost dry, and then I use a thin piece of wire to scratch out some little cracks in the roadway
–> When it’s dry I paint the road using a concrete color, but vary the shades a little
–> I then use an India Ink/rubbing alcohol mix (or thinned black acrylic paint) to carefully fill each crack using a thin artist’s brush
–> Lastly, I use chalks (soot black and grimy black) to simulate oil stains and vehicle tire marks.
As a point of interest, I also use chalks for weathering vertical streaks under window sills (where rain has washed down) and on roofs.
More clever scenery tips available at http://www.modelrailwayscenery.org/model-railroad-scenery.html
Ian sent in this tip to share:
For code 100 or smaller track, use a solder iron with a conical type tip. The end of the tip will be unplated iron. This is the area that gets coated with solder. The rest of the iron tip will be copper plated with iron, nickel and chrome. The chrome stops the solder from adhering to the body. For larger rails than code 100, you might want use a screwdriver shaped tip instead.
Add your comment.
From Michael W:
Sticking wiring through 2″ thick styrofoam can be testing for any of us. However there are a couple of easy methods. Use a knitting needle and thread the end of the stripped 22-gauge wire through the eye. Then push the needle through the top of the foam and pull it out from underneath with the wire attached. A sailmaker’s needle will work just as well if the wife doesn’t like you borrowing her knitting needles. Coating the knitting needle with some rubbing alcohol will help it slide through easier.
Add your comment.
Our recent poll asked “Did you get any trains or model railroading accessories for Christmas?”
The 394 participants said:
–> YES – I got what I was hoping for (31%, 124 Votes)
–> Yes – But not what I was expecting (6%, 20 Votes)
–> No – Unfortunately I missed out (52%, 206 Votes)
–> No – I haven’t got a layout yet (11%, 44 Votes)
Add your comment.
 Switching tracks direct the train from one track to another. This is achieved by points which are moveable rails, lying outside the main track.
Crossover: A crossover switch lets trains on one track to continue in a straight path or diverge onto an adjacent track. When both tracks diverge onto each other, a double crossover track is formed.
Three-Way: A three way track splits a track into three different directions.
Wye: A wye track allows the train to change directions. The train can go both right and left through a single track.
Double Slip: A double switch guides the train on four different routes. Two tracks combine with four points to achieve this.


